Learning how to program is not an easy task. But it is straightforward to get started with it by following a very simple Swift tutorial.
The very first program everyone writes is called Hello World. It teaches you the basics of creating and running a program in any language.
- This article is part of the Learn Swift series.

FREE GUIDE - SwiftUI App Architecture: Design Patterns and Best Practices
MVC, MVVM, and MV in SwiftUI, plus practical lessons on code encapsulation and data flow.
DOWNLOAD THE FREE GUIDETable of contents
- Use the Hello World example to write your first Swift program
- Create your first Hello World program using Xcode playgrounds
- Create your first Hello World iOS app in SwiftUI
- Create your first command-line macOS app
Use the Hello World example to write your first Swift program
The first thing you need to learn is how to print something to the console, an output text area where you can print any message.
Printing to the console is straightforward, and it works in the same way in most programming languages. It also helps you understand how comments work and teaches you how to fix basic errors.
In this article, I will explore different ways of printing to the console in Swift by using the “Hello, world!” example. This is the text used by most programming environments when they generate templates for the apps you create.
Apps that only show some text on the screen are the easiest to create and understand. You need to write more code as you develop advanced features for your apps, so it’s essential to learn how to print to the console before moving on to anything else.
Create your first Hello World program using Xcode playgrounds
A playground is a file where Swift programs are written. You can do this in any text editor, but Xcode playgrounds also allow you to run programs and see their results.
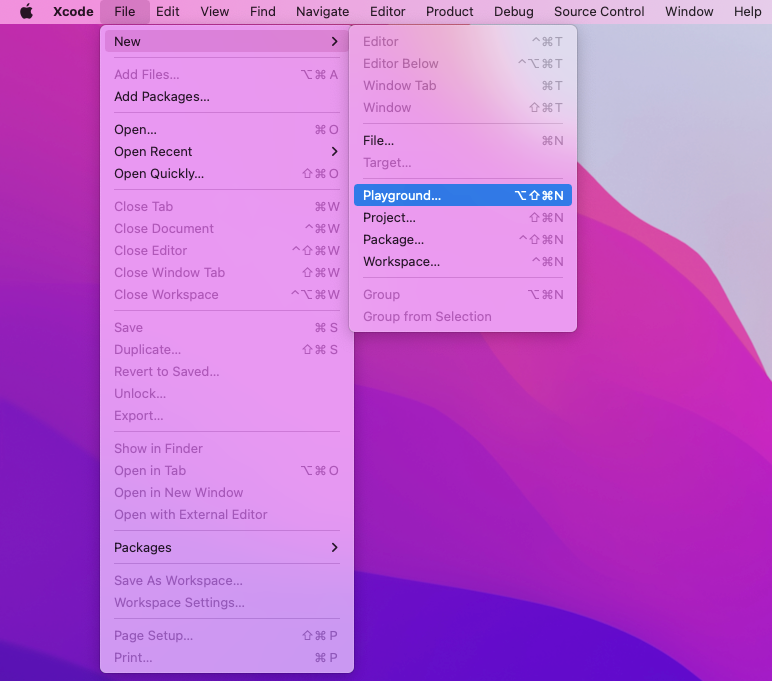
Create a new playground by selecting File -> New -> Playground… from the Xcode menu.
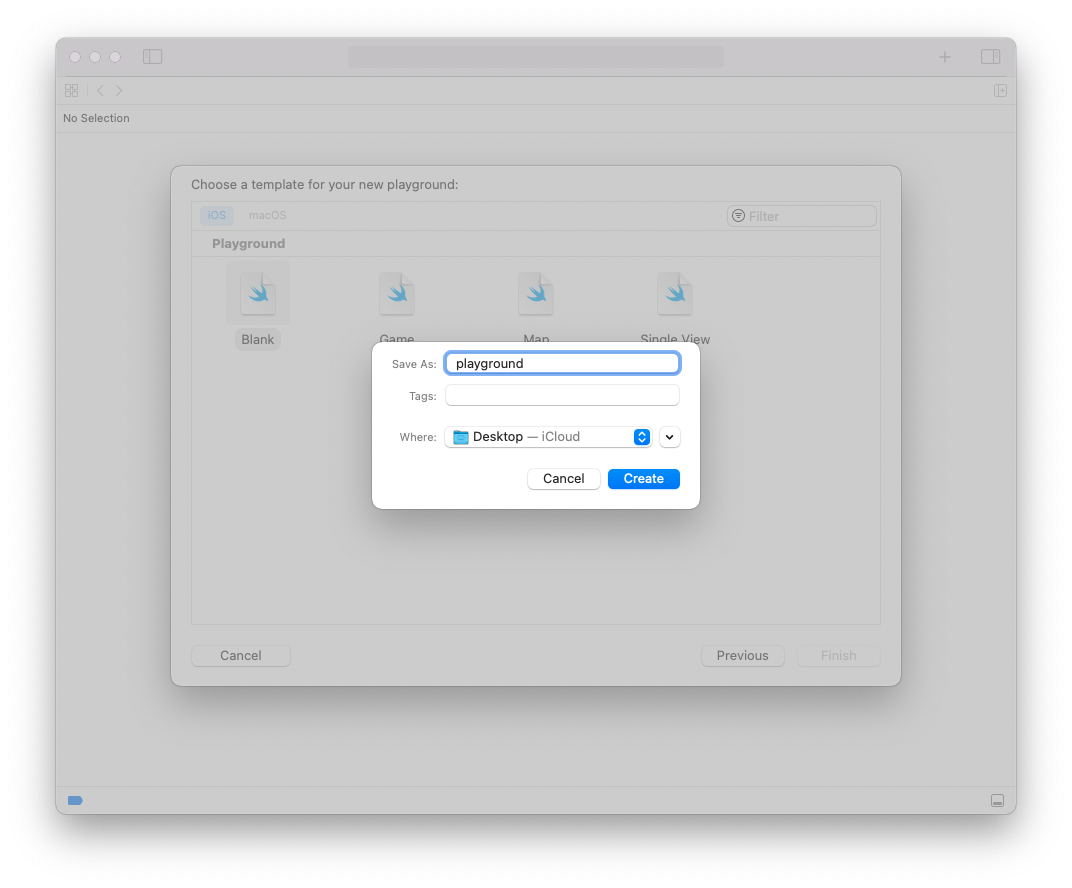
Choose the Blank template from the iOS tab.

Pick a name for the playground and choose where to save it.
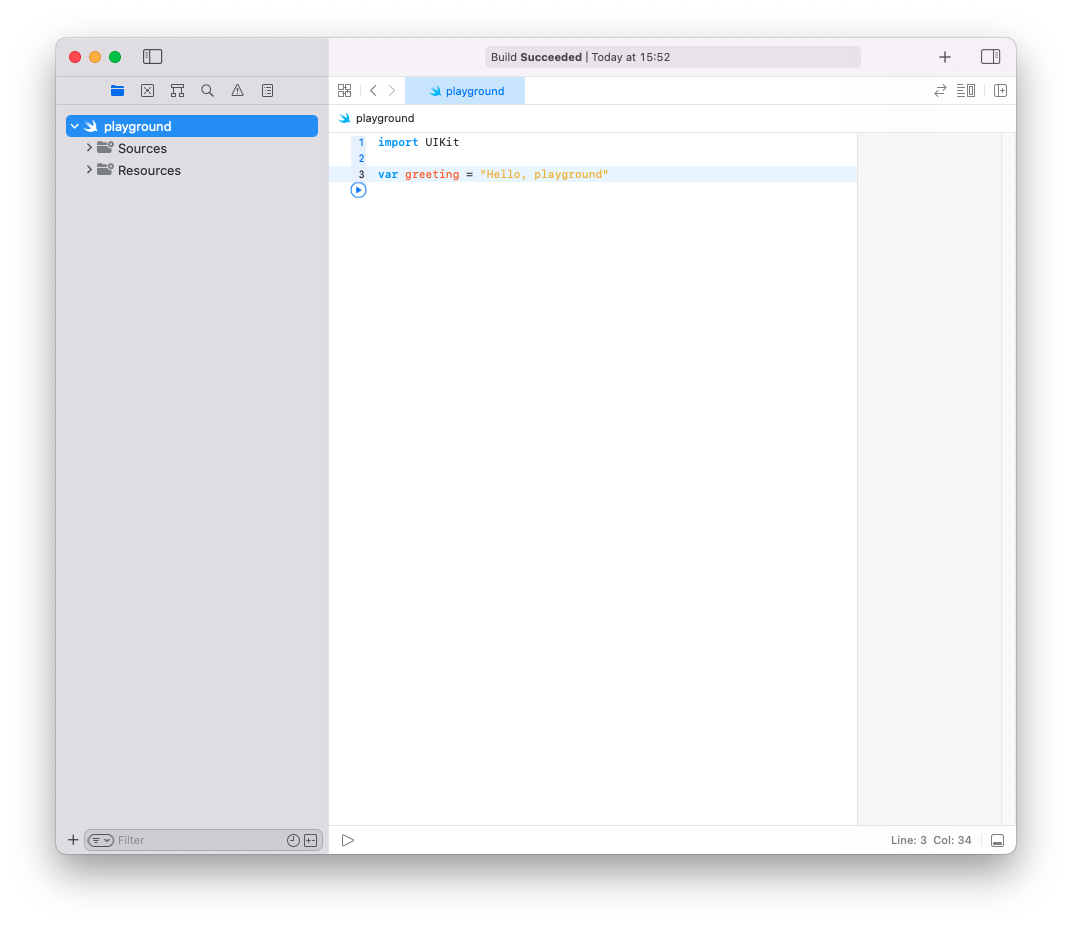
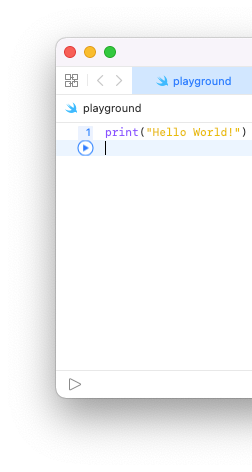
The playground appears with some template code already inside.
Now it’s time to write something. Delete everything in the playground and type the following code:
print("Hello World!")There is only one instruction in this code, which tells the computer to print “Hello World!” to the console.
You don’t know if everything works yet, so it is time to run the program and find out.
Run your first Hello World program in Xcode playgrounds
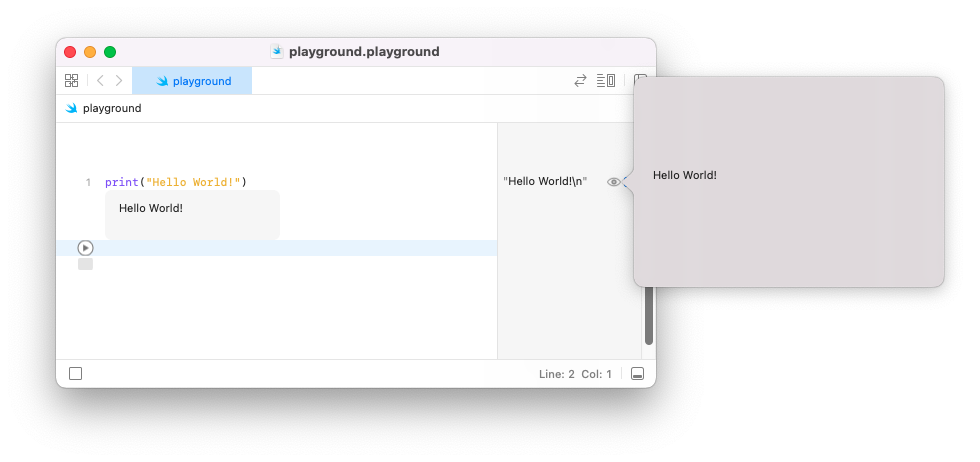
Press the play button in the bottom left corner of the playground’s window to run the playground.
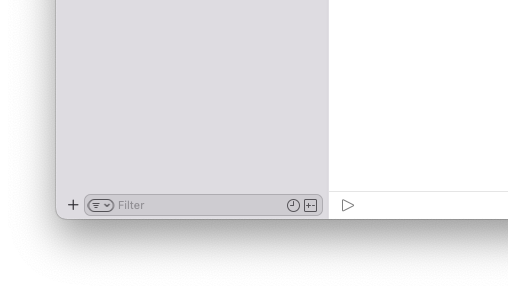
Press the button in the bottom right corner of the playground’s window on the same line as the play button to make the debug area appear. You should see the playground’s output printed in the debug area.

You can also run the playground by pressing the play button in the gutter. This is the space on the left of the code where the line numbers are.
You can also check the playground’s output in the sidebar on the right side of the playground’s window. The sidebar contains more information about the playground’s output that isn’t printed in the debug area when you run the playground.
Fix your first Swift error in Xcode playgrounds
The print statement must follow the rules of the Swift syntax. Xcode detects errors as you type because the compiler complains if mistakes are made.
The compiler stops when an error occurs and displays an error message in the debug area at the bottom of the playground window.
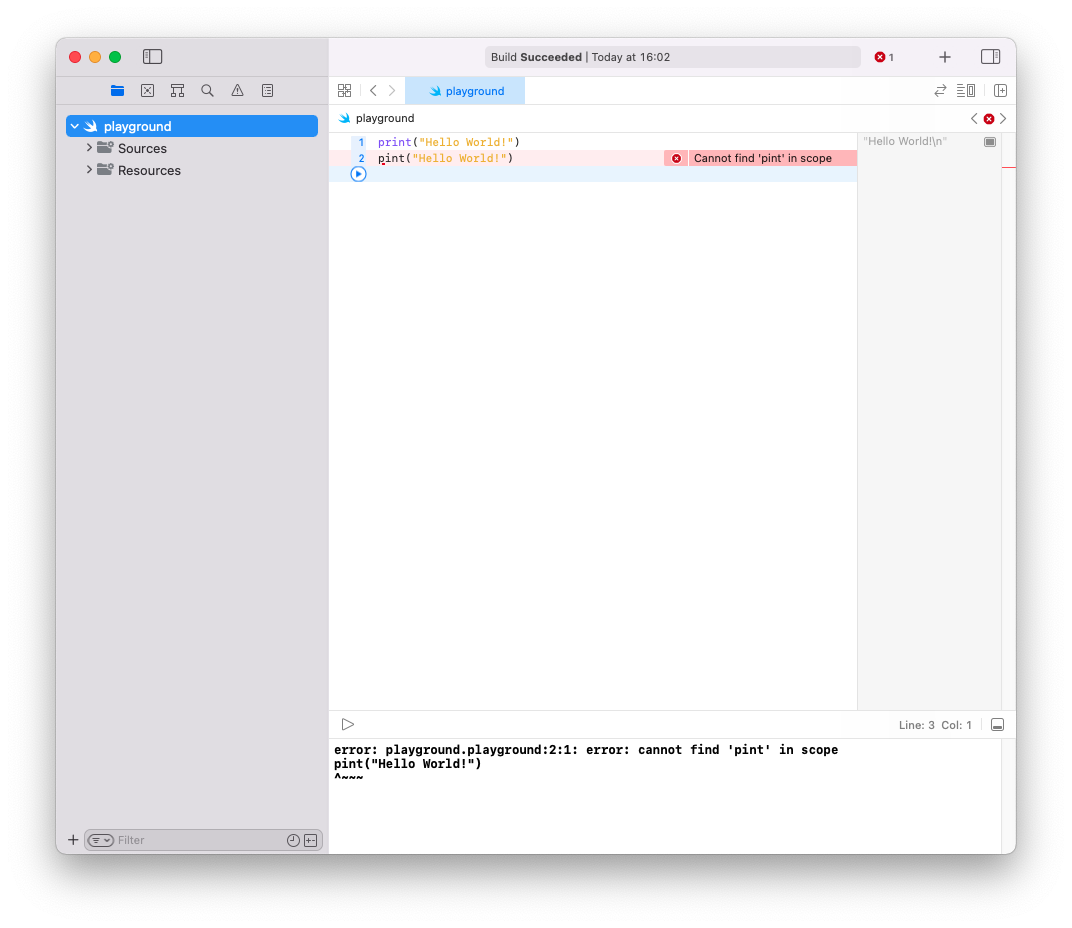
Remove a letter from the print statement to see how this works in action.
print("Hello World!")
pint("Hello World!")
The compiler flags an error for the code. This happens because it doesn’t recognize what you are trying to do.
Add the missing letter to the print instruction, and the error disappears. The compiler is happy now.
This error is trivial, so it is straightforward to fix. Your code can still have mistakes if it’s not written correctly, no matter how simple it is.
Annotate your first Hello World program with comments
A comment is a piece of text in a program that the compiler ignores. You can use comments to annotate code. There are two ways to write comments in Swift:
- Any text placed after the
//characters is a comment until the end of the line. - You can delimit comments by starting with the
/*characters and ending with*/. Any text between these delimiters is part of the comment, which allows the comment to span multiple lines.
// This is a comment, ignored by the compiler

print("Hello World!") // You can also write a comment next to an instruction

/* This is also a comment,
which spans multiple lines
and ends only with a
closing delimiter */
The hello world program is elementary, and it usually wouldn’t need any comments. It is good practice to add comments only to code that is not immediately evident. You should use comments to explain why some code was written and not explain code the reader can easily understand.
You can also make the code itself a comment to temporarily disable it. This is useful when you have some code that you don’t want to run but may need to add or restore at a later stage.
// print("Hello world")
/*
print("Hello world")
print("Hello world")
*/
Create your first Hello World iOS app in SwiftUI
Apps are more complex than playgrounds but creating a hello world app is straightforward thanks to the default iOS app template that you get in Xcode.
Create a new iOS app by selecting File -> New -> Project… from the Xcode menu. Choose the App template from the Application section in the iOS tab.

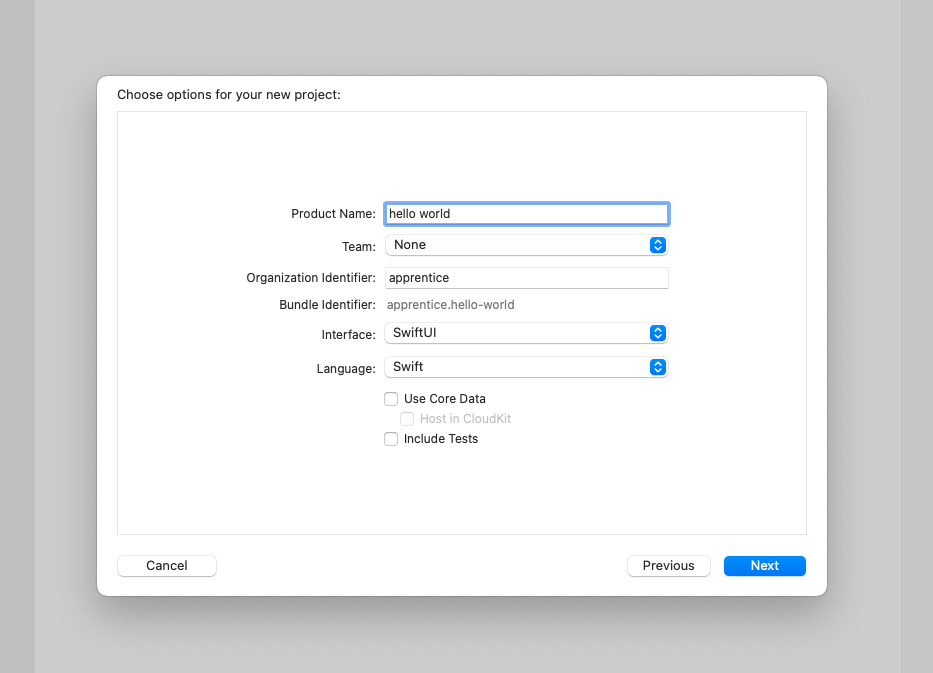
Here are the app settings that you should then select:
- Name the app hello world.
- Choose None for Team. You don’t need a development team for such a basic app.
- Enter the name of either your own company or the company you work for as the organization identifier. Xcode uses this to set the bundle identifier for the app.
- Select SwiftUI for the technology used to build the app’s user interface. The other one is UIKit which uses an entirely different approach with storyboards.
- Set Swift for the programming language used to code the app. This is your only option if you use SwiftUI for the user interface. UIKit also works with Objective-C in the background.
- Ensure that the Core Data and unit testing options are not selected. You don’t need local databases to store the app’s data since it’s elementary. There is also no need to test the code of such a basic app.
You need to perform quite a lot of configuration, even for a basic iOS app, because Xcode doesn’t know what kind of app you are working on.
Finally, check the Create Git repository on my Mac for your project and save it. In our example, this will not make any difference, but it’s useful to initialize a Git repository for any project you create since you will likely need it.

Now it’s time to see what Xcode has created for you in the background.
Understand the structure of a basic SwiftUI iOS app
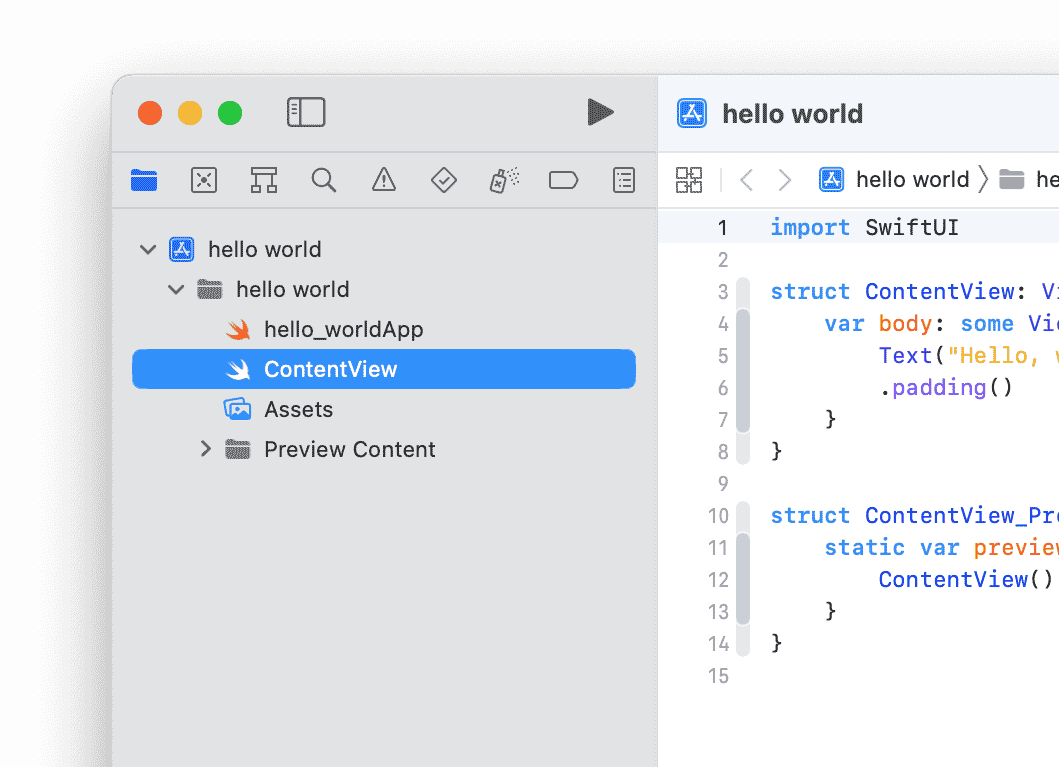
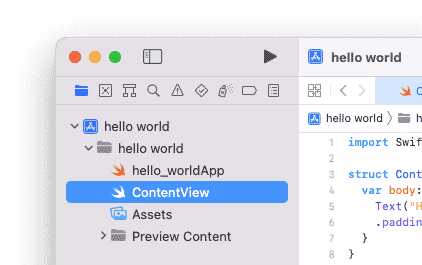
The hello world project has two source code files. You can choose either one of them from the project navigator on the left side of the Xcode editor.
Open the hello_worldApp.swift file and take a look at the code.
import SwiftUI
@main
struct hello_worldApp: App {
	var body: some Scene {
		WindowGroup {
			ContentView()
		}
	}
}
There is quite a lot going on. SwiftUI is a complex framework because it uses advanced Swift concepts such as opaque types, property wrappers, and result builders.
You don’t need to know about these concepts to understand how everything works. The most important thing you should be aware of is that you are using a structure, which is a custom Swift data type, to define the main scene of the app.
The scene handles a group of views of the app. There is only one view, in this case, declared in the ContentView.swift file.
struct ContentView: View {
	var body: some View {
		Text("Hello, world!")
		.padding()
	}
}
The code uses a structure to define the only view of the app. The view contains everything that appears on the screen when you run the app.
The easiest thing to show on the screen is a label with some text. This is the equivalent of printing something to the console.
Run your first iOS app in the simulator
There are three ways of running your iOS app: on an iPhone, using a simulator, and/or inside Xcode previews.
You don’t need an iPhone to run basic apps. A simulator has all of the essential features of an actual device, and it is much easier to run an app using this.
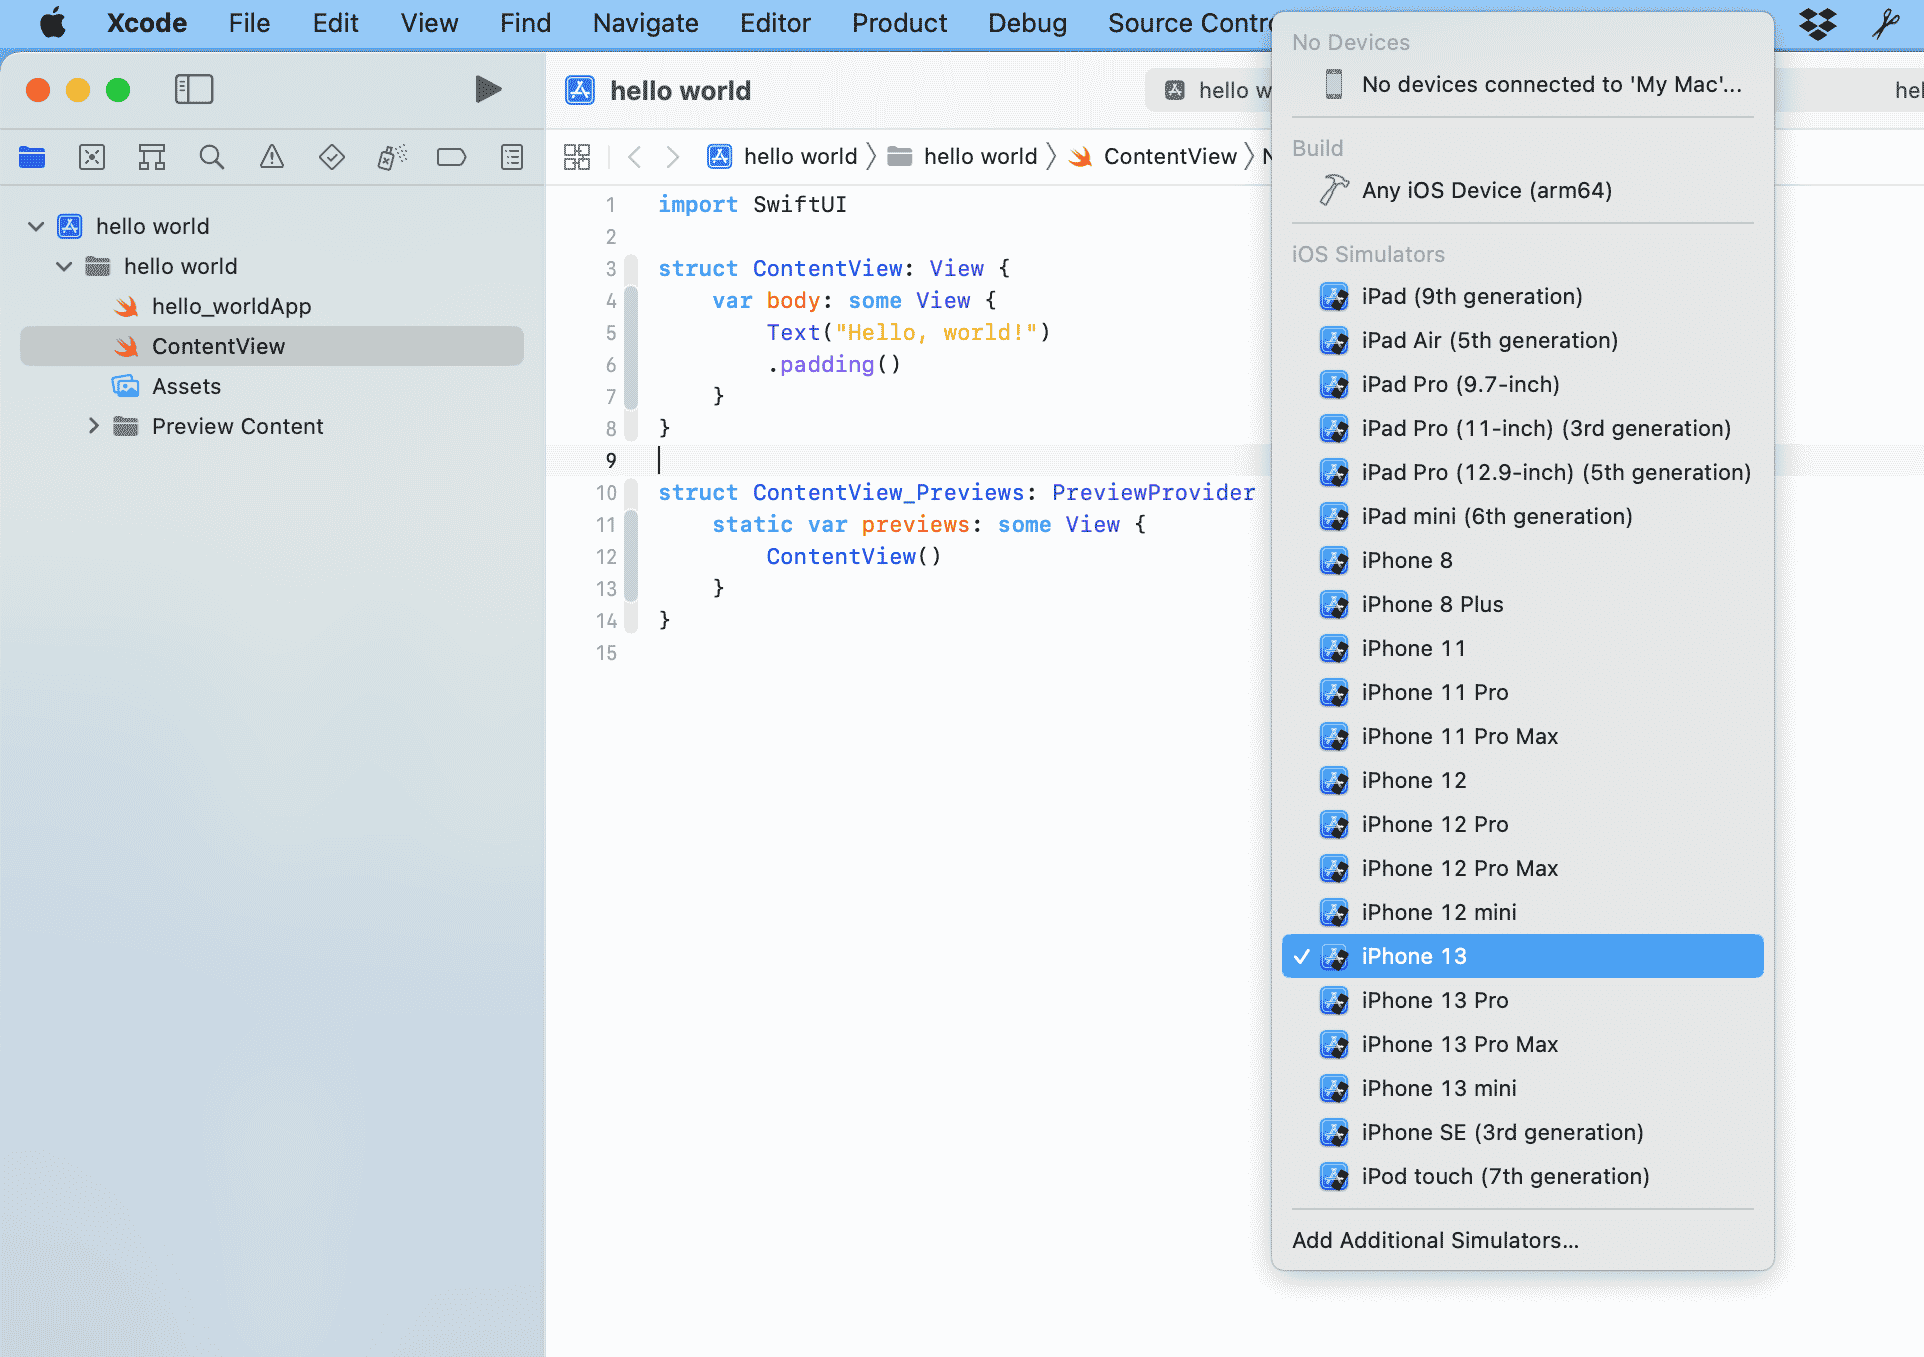
The first step is to choose the iOS simulator that you want to run the app on. A default simulator is already selected at the top of your Xcode project window. In this case, it is the iPhone 8.
You can click on the default simulator and choose a custom one from the simulator menu that appears.
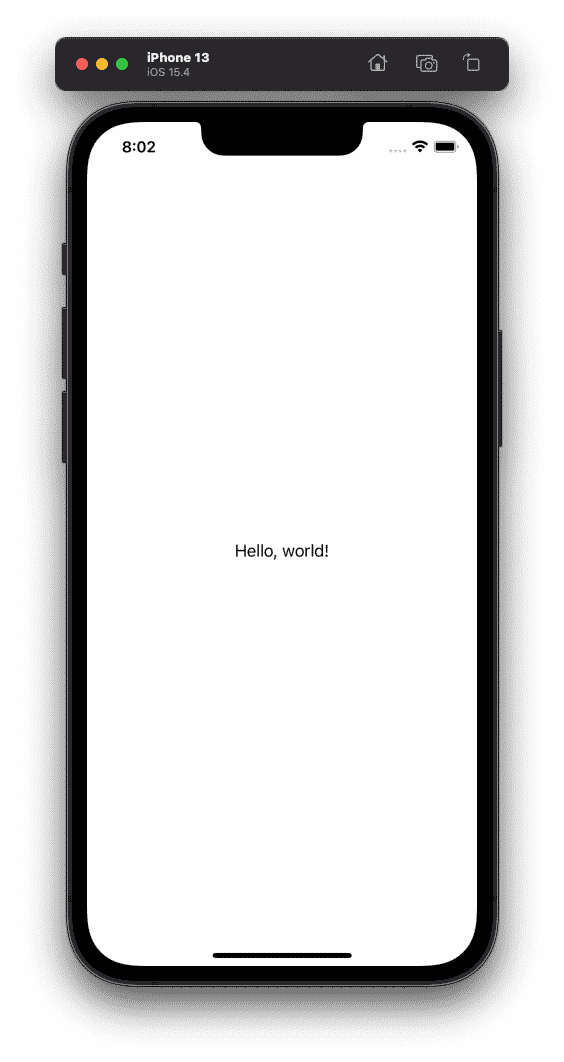
Press the play button at the top left of the project window to run the app.
The project builds itself without errors and then runs the app on the chosen simulator.
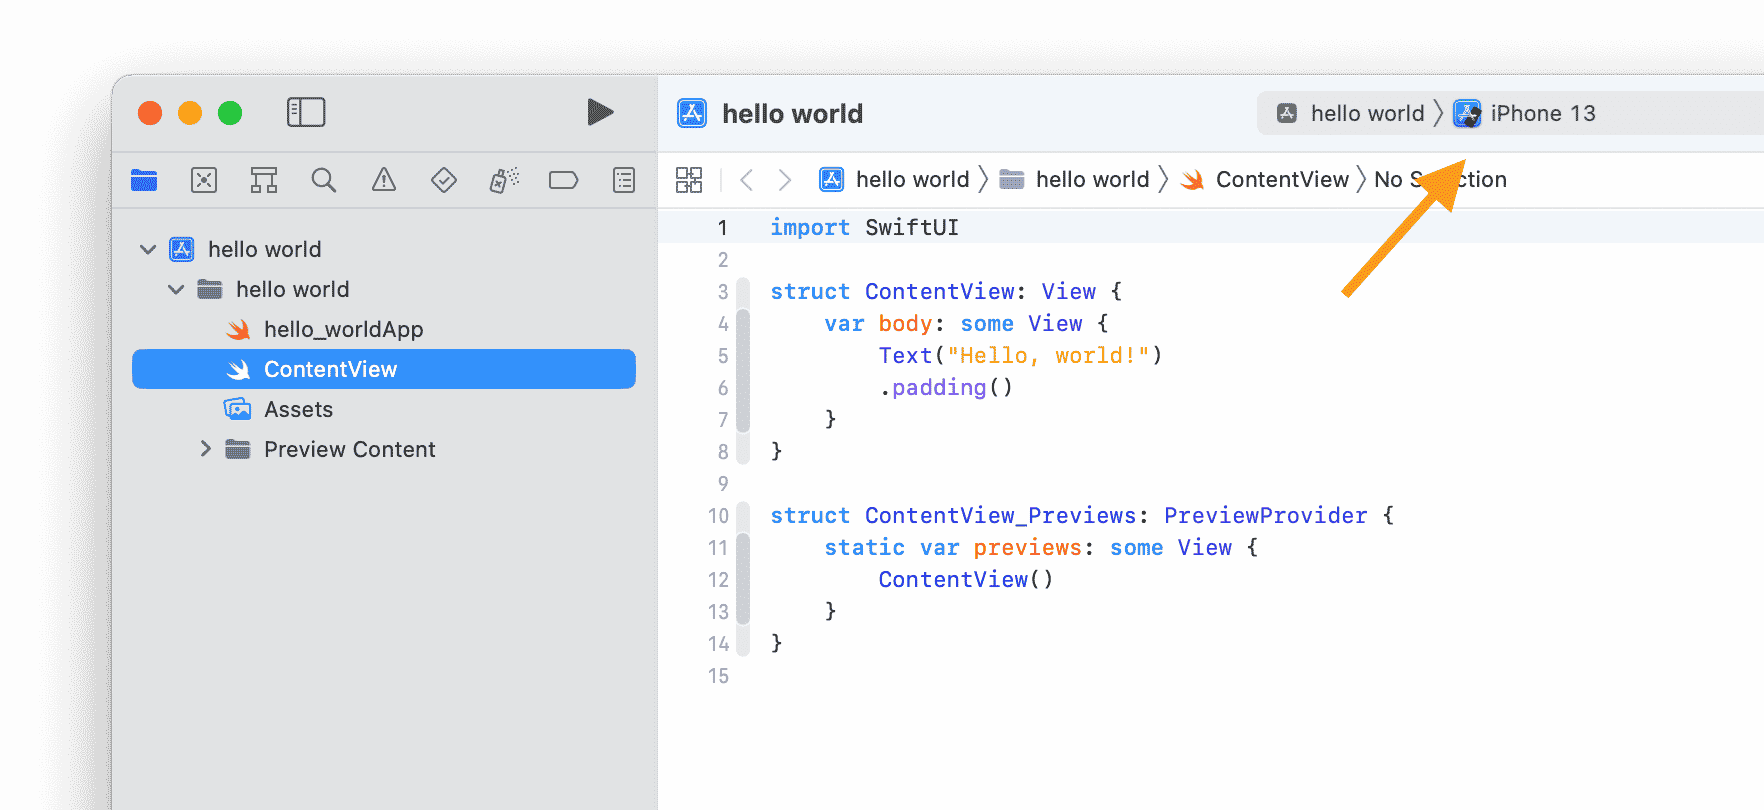
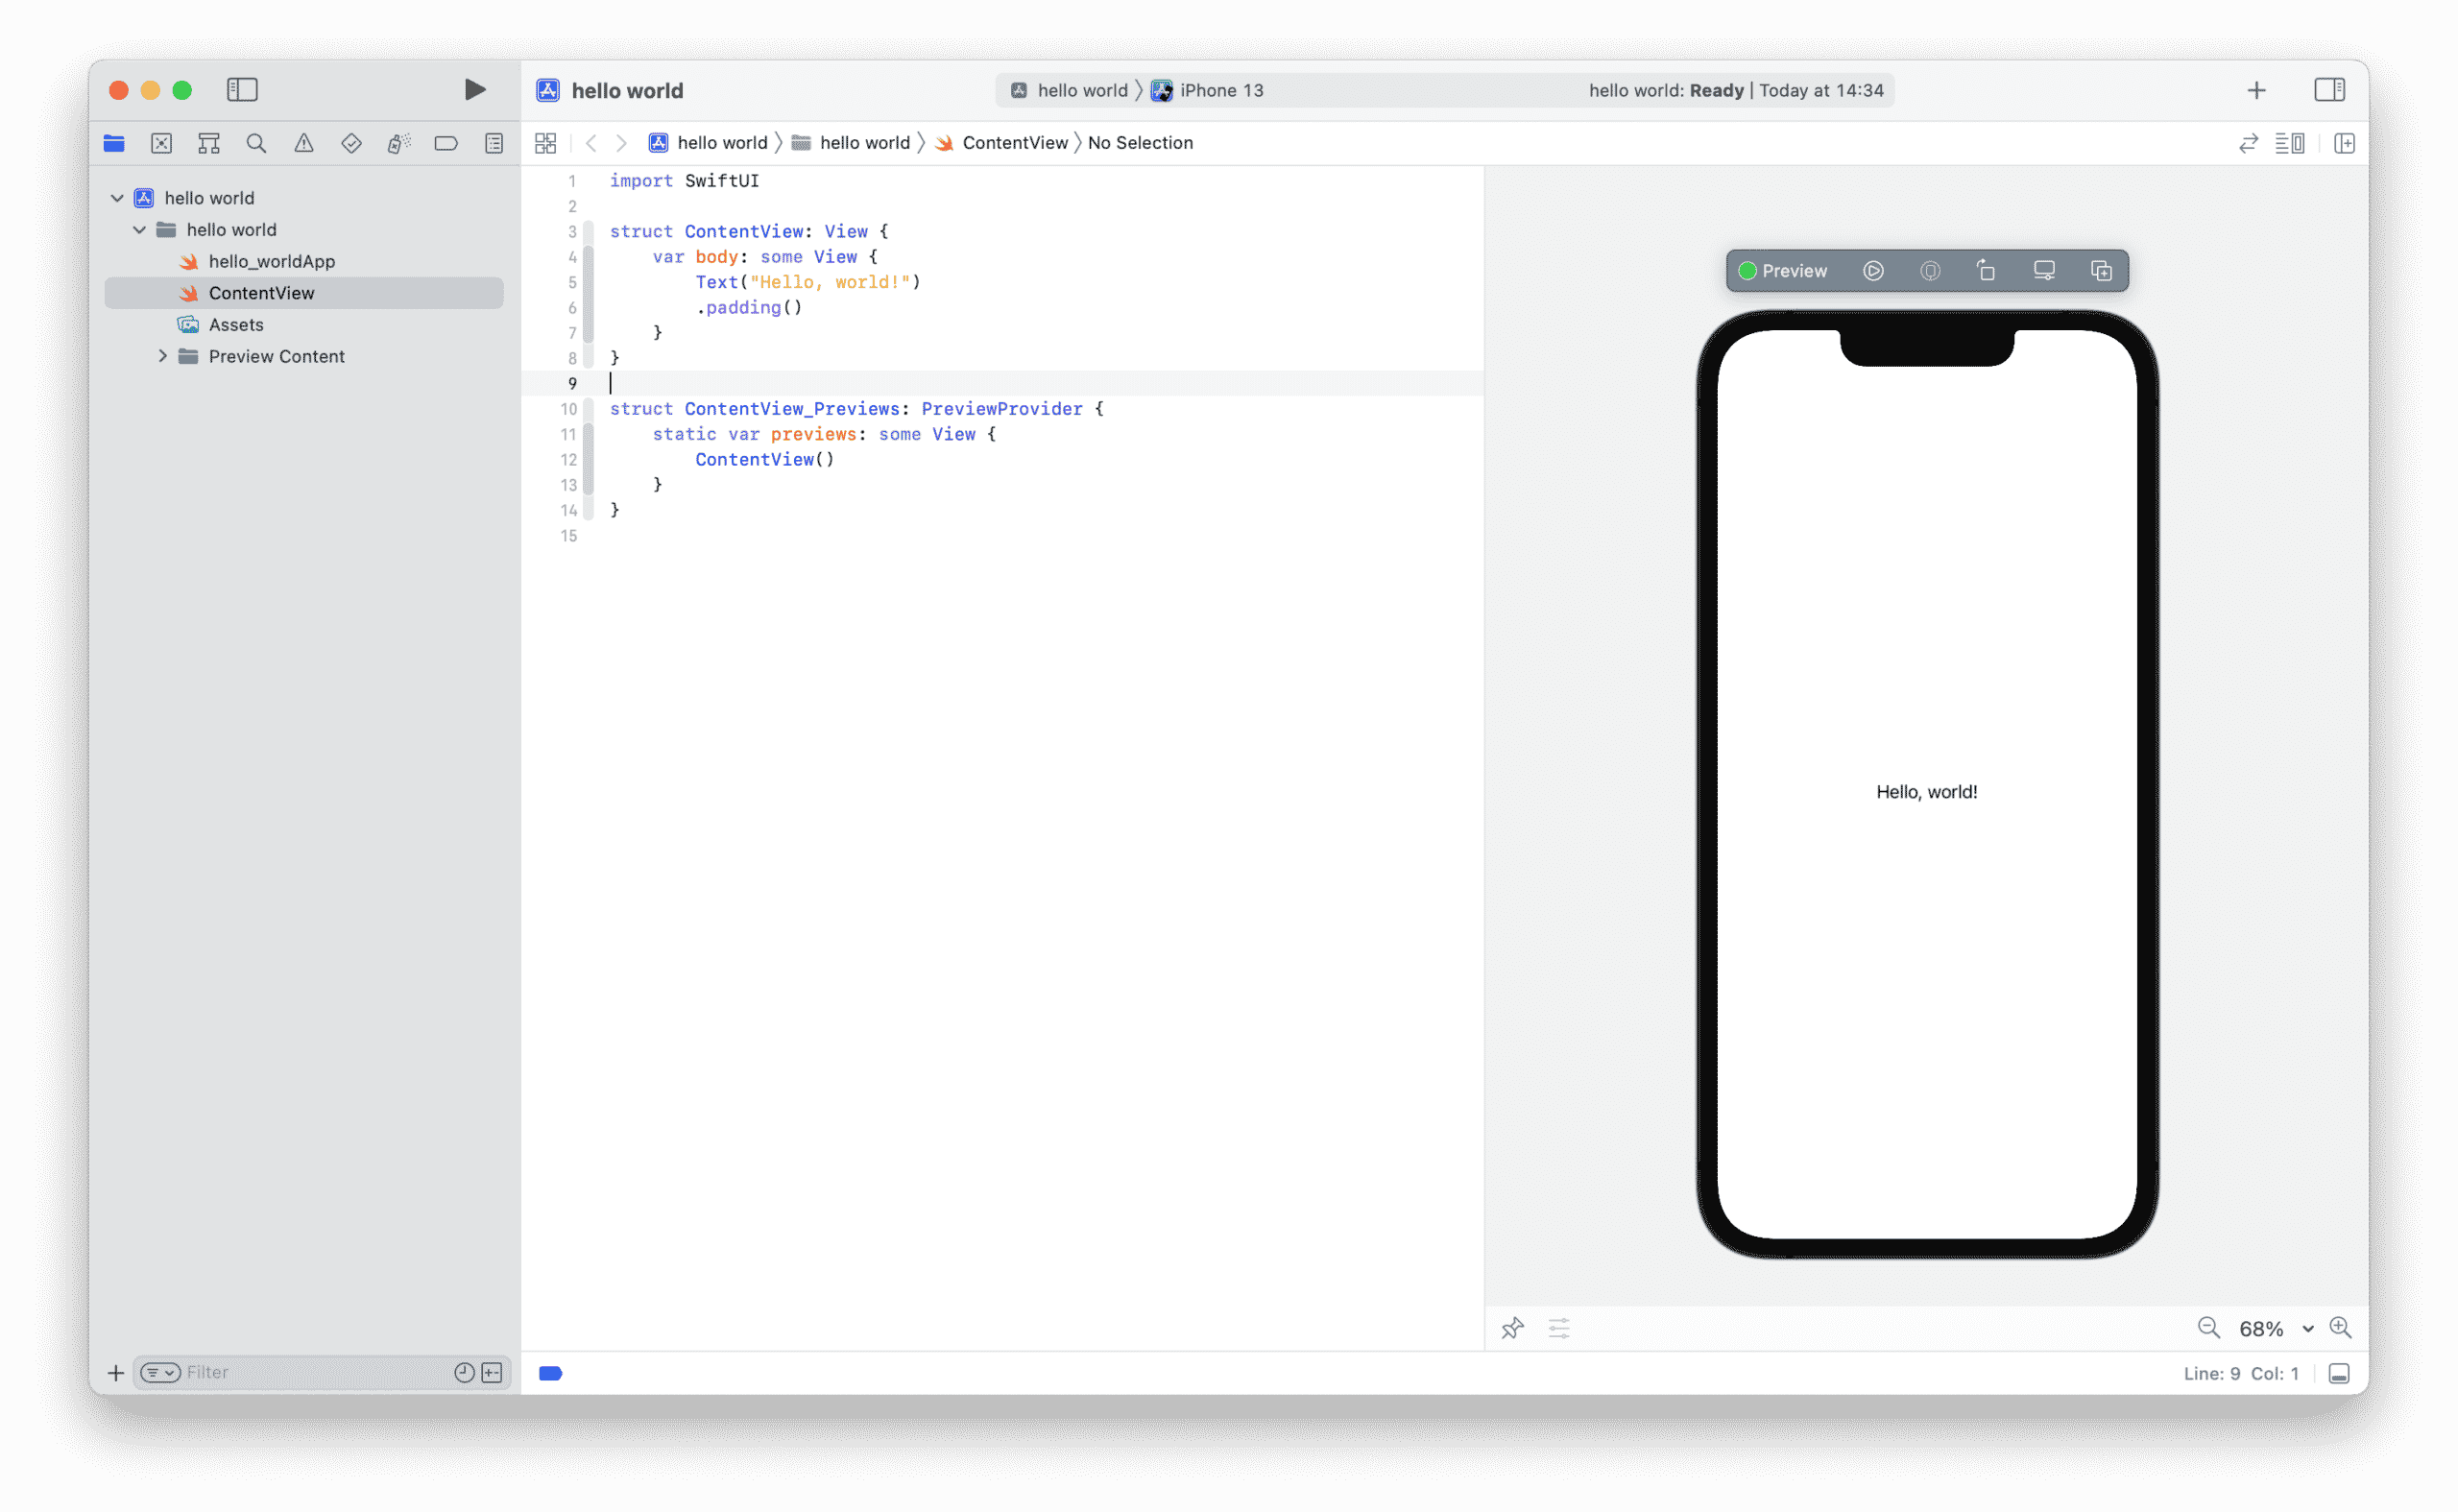
SwiftUI also allows you to preview the app’s appearance without running the app on a simulator. To do this, switch to the ContentView.swift file and look at the preview code.
struct ContentView_Previews: PreviewProvider {
static var previews: some View {
ContentView()
}
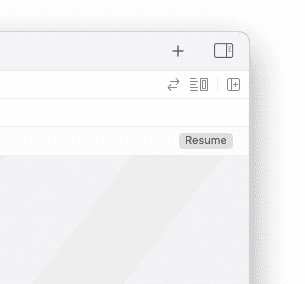
}The code creates a structure that handles the updates of the app’s main view to preview them. You can press the resume button at the top right of the preview window to preview the changes.
The preview simulator is perfectly synchronized with the code of the view. This means that any changes you make to the code in the left panel can be seen in the simulator in the right panel immediately.
Create your first command-line macOS app
There is quite a lot of boilerplate code in the iOS version of the hello world app. This happens because you need to define a user interface for the app even though it is simple.
To avoid all of this code, you can instead create a macOS version of the app, which only prints to the console and doesn’t require a user interface of any kind whatsoever.
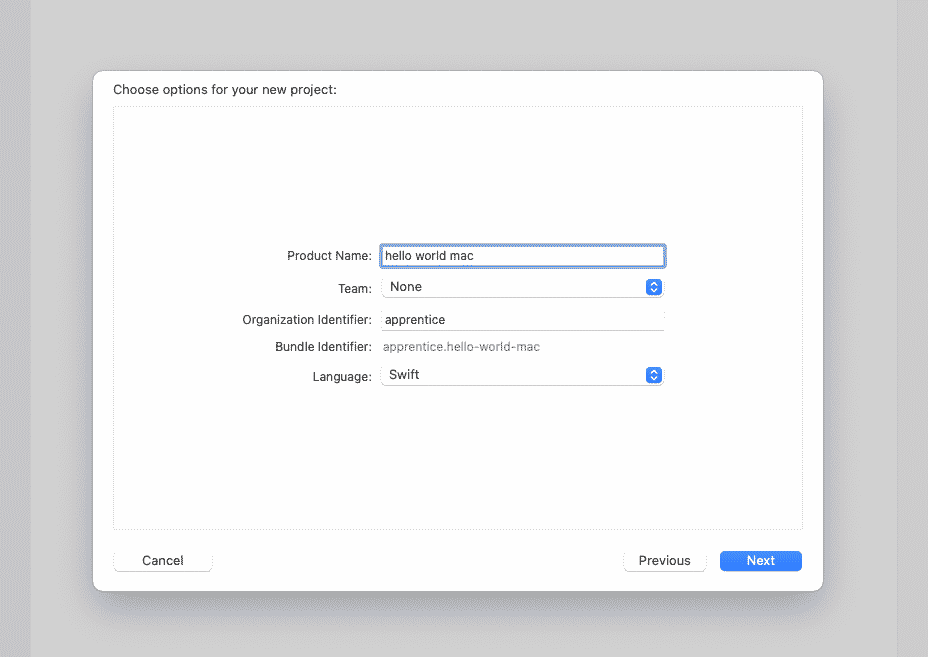
You can create a new macOS app by selecting File -> New -> Project… from the Xcode menu. Choose the Command Line Tool template from the Application section in the macOS tab.

Name the app hello world mac and use the same settings for the app’s development team, organization identifier, and programming language that you used for the iOS version of the app. Make sure you select Swift as the programming language of the app. The other options are Objective-C, C++, and C.
Finally, check the Create Git repository on my Mac and save the project.
All the code of the app is in the main.swift file. You simply use the print statement to print a message to the console as you did when you used the Xcode playgrounds.
print("Hello World!")You can run the app in the very same way that you would run its iOS version.
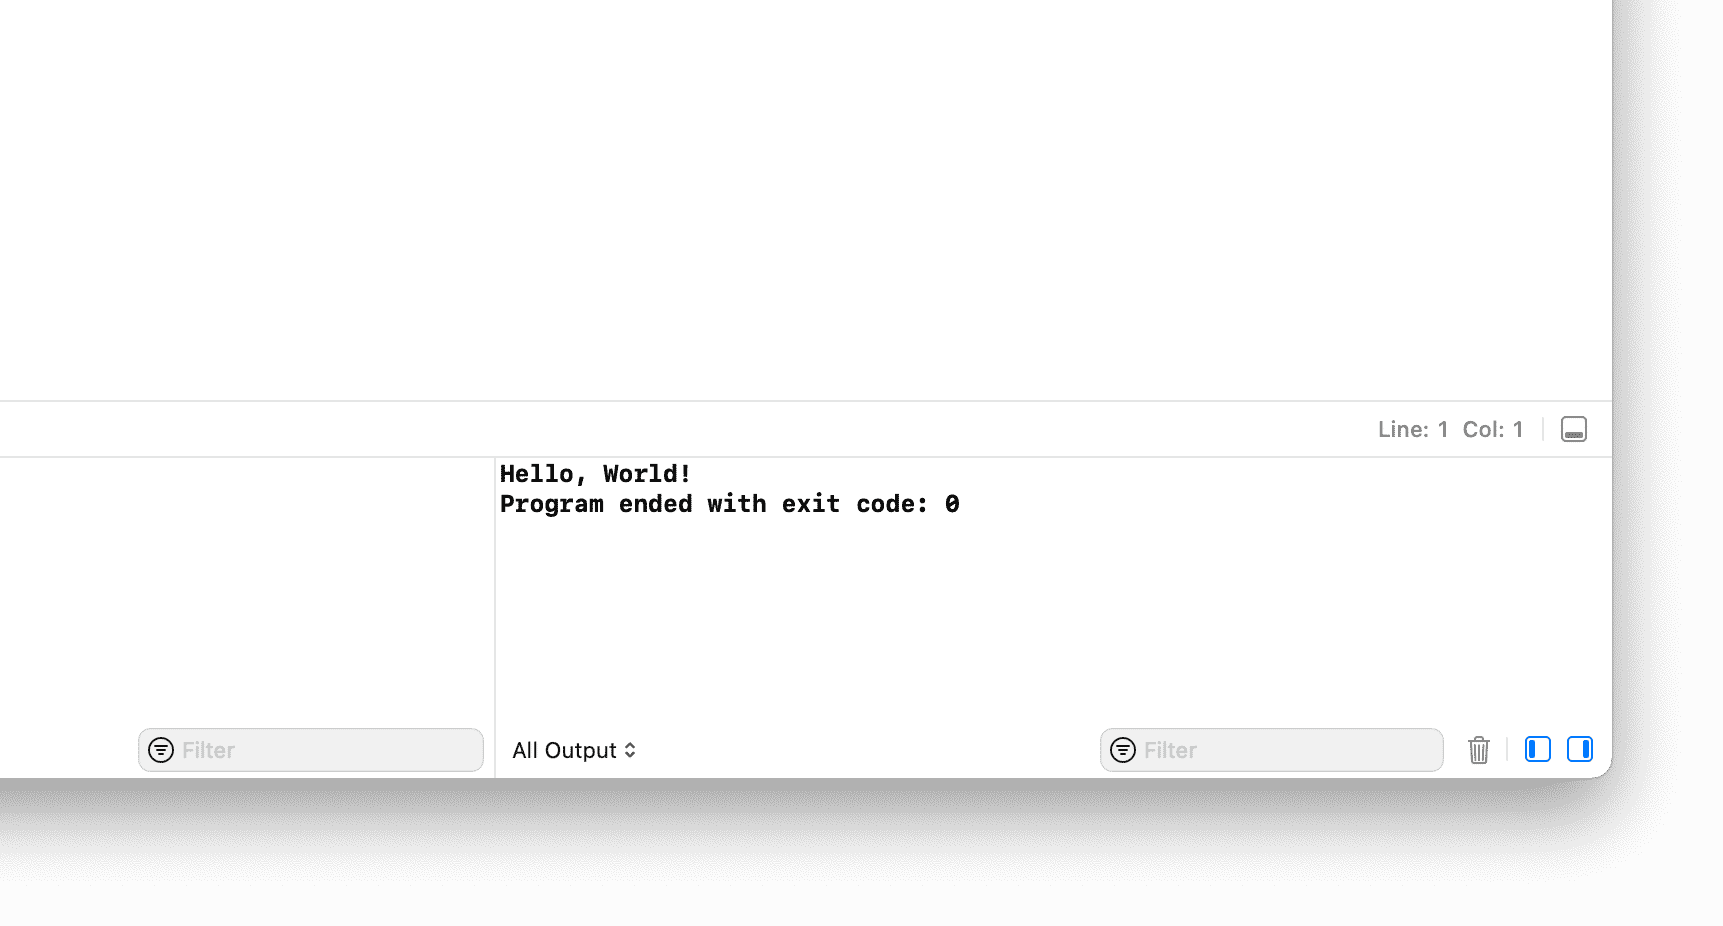
The app builds and runs on your Mac this time. It prints “Hello World” in the debug area at the bottom of the project window.
Run Swift code from the Terminal
The macOS version of the app is a console application, so you don’t have to run it in Xcode only. Xcode provides a read-eval-print loop (REPL) which is a command-line interface that runs from the Terminal.
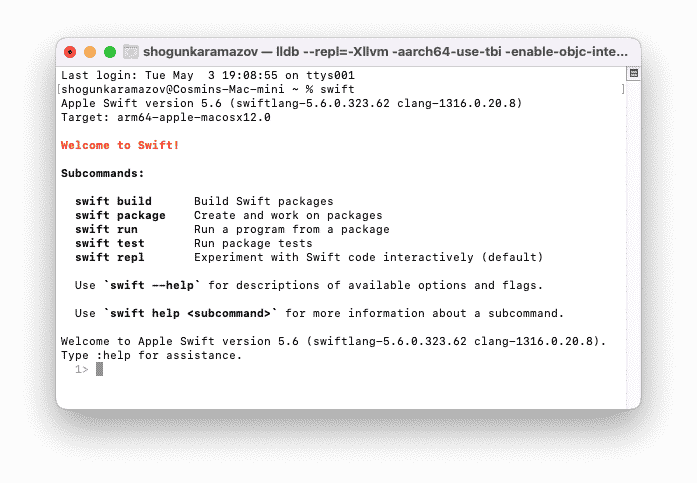
Open the Terminal app and enter the swift command to launch the REPL environment. This is what you should see in the console window if the command line tools are installed correctly in Xcode:
If the Terminal doesn’t recognize the previous command, then the Xcode command-line tools are not installed properly, so go ahead and install them before moving on.
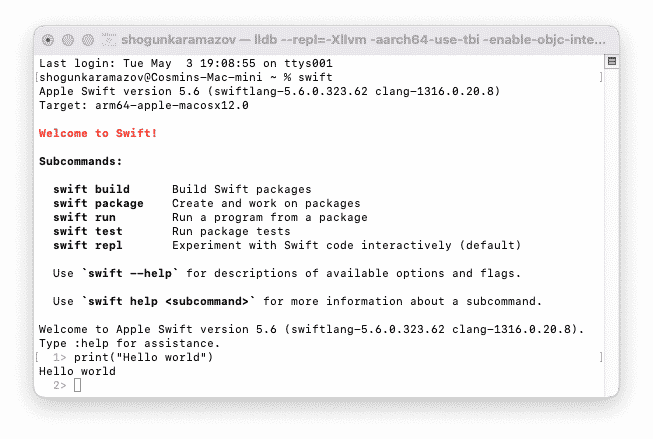
You can now run Swift code directly in the Terminal. Try out the print statement again.
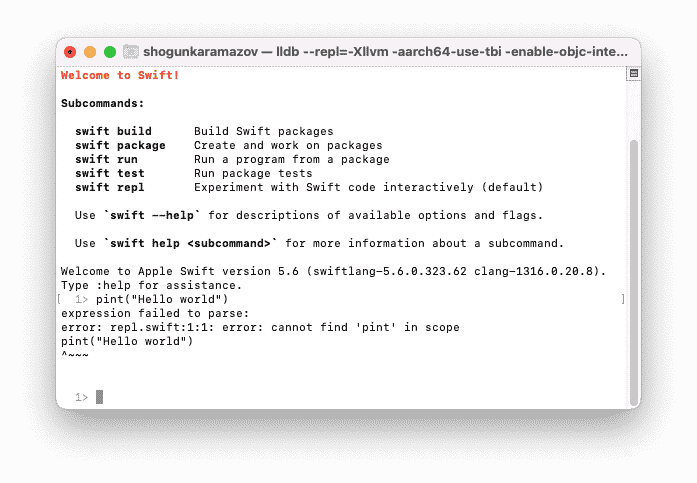
You will get errors if you type invalid code in the console.
You can quit the Swift REPL by typing one of the following commands in the Terminal: :exit, :quit or :q.
Run Swift files from the Terminal
You can also run Swift files directly in the Terminal. Right-click the hello world mac folder, press the Option key on your keyboard, and select the Copy “hello world mac” as Pathname option from the menu. You will need the folder’s path on the disk to access it inside the Terminal.
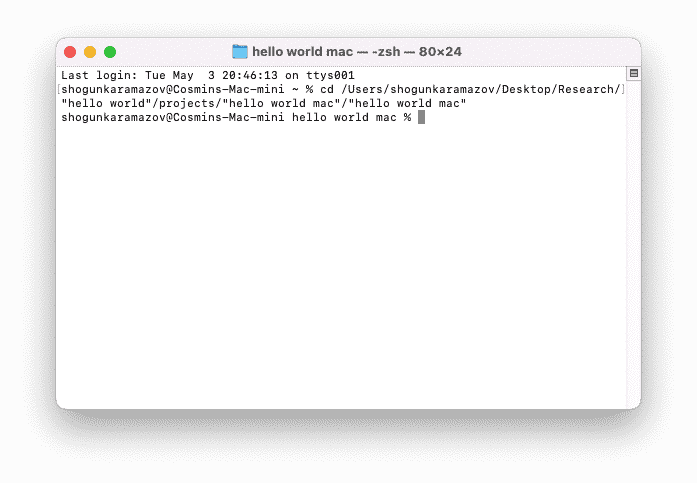
Next, enter the cd [path] command in the Terminal to switch to the app’s folder. Paste the project folder’s path to replace the [path] part of the command.
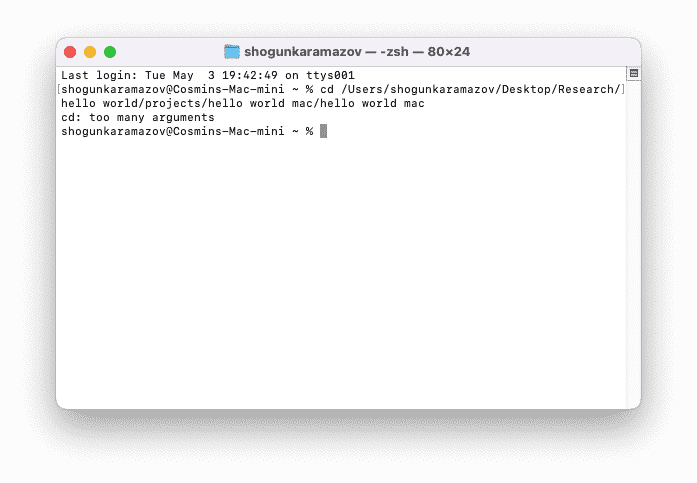
The Terminal does not work well with either file or folder path names that contain spaces. The easiest way to get around this is to place all the file and folder names with spaces between double quotes in the path’s name.
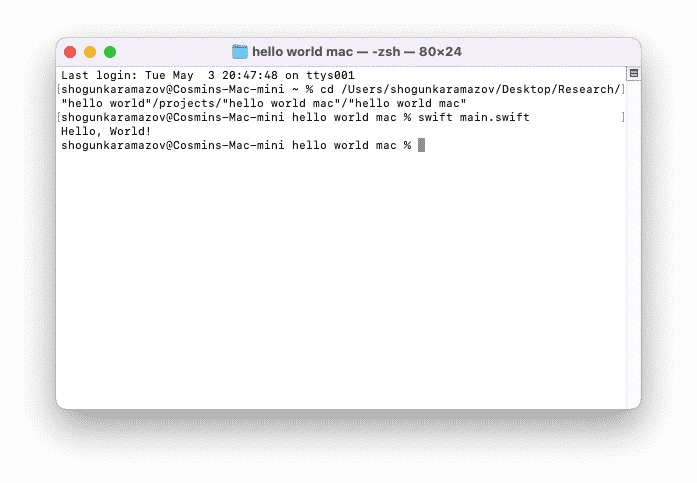
Now you can finally run the main Swift file of the macOS app in the Terminal. Type the swift main.swift command in the Terminal.
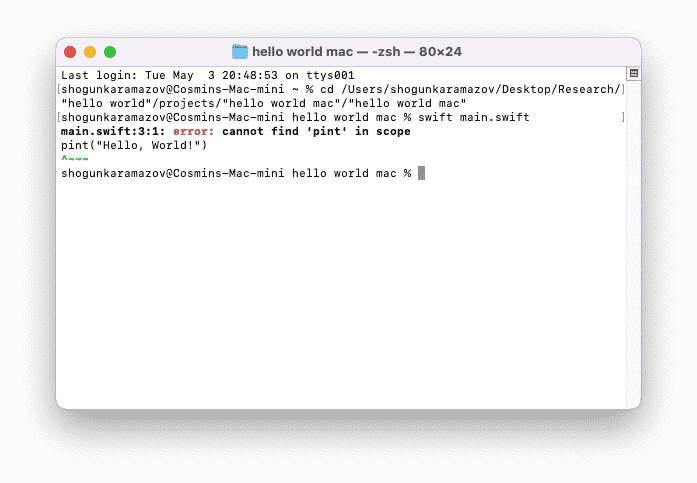
You will get errors if the file contains invalid Swift code.
Create executable files from source files
You can use the Terminal to create executable files from source files. This is particularly useful when you want to share your work with someone else, but you don’t want to give them access to your code.
Access the hello world mac folder in the Terminal the same way you did in the previous section.
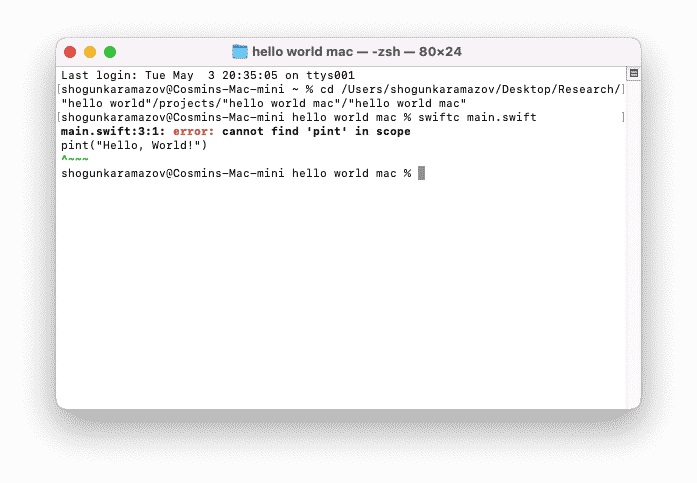
Enter the swiftc main.swift command in the Terminal. This command creates an executable file with the same name and in the very same folder as the source file.

You can’t create the executable file if the source file contains invalid Swift code.
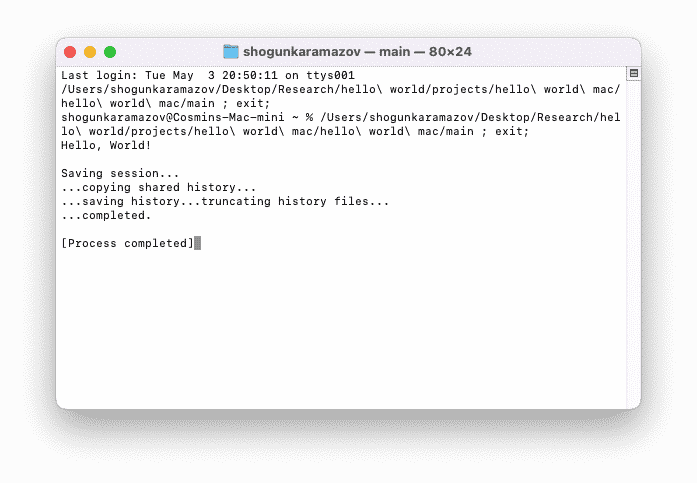
You can run the main.exe executable file in the Terminal in two different ways.
1. Double click the file in the hello world mac folder, and it will automatically run in the Terminal.
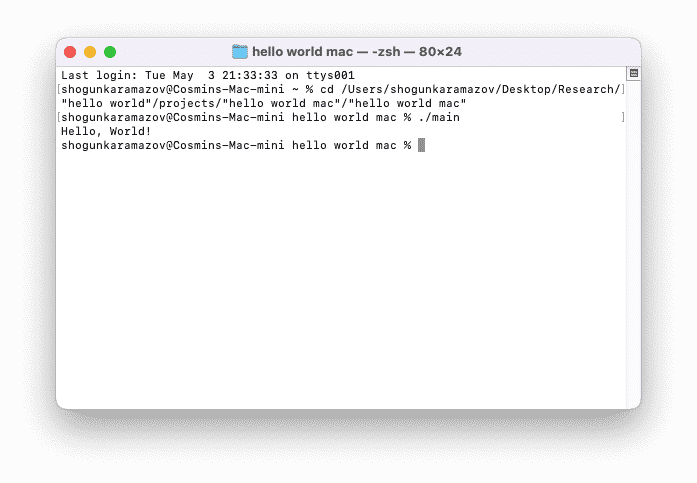
2. Type the ./main command in the Terminal to run the file manually.
SwiftUI App Architecture: Design Patterns and Best Practices
It's easy to make an app by throwing some code together. But without best practices and robust architecture, you soon end up with unmanageable spaghetti code. In this guide I'll show you how to properly structure SwiftUI apps.

Cosmin has been writing tutorials and books on Swift and iOS development since 2014, when the first version of Swift was released. He has been part of influential iOS development communities such as raywenderlich.com and appcoda.com since 2010 and has taught iOS development with Objective-C and Swift since 2012. Cosmin lives in Romania and has engineering degrees in electronics, telecommunications, neural networks, microprocessors, microcontrollers, distributed systems, and web technologies from the technical universities of Cluj-Napoca and Iași. He has worked with many programming languages over the years, but none of them has had such a significant impact on himself as Swift. Cosmin likes to play the guitar or study WW2 history when not coding
Very well-structured and clear explanations! I really enjoyed reading this.
Thank you! Really glad you liked it!