The easiest way to install Xcode is using the Mac App Store.
But that’s not necessarily the best way.
While you can install Xcode with a simple click, using the Mac App Store is very slow, and the download might hang indefinitely or return cryptic errors.
The best alternative way to install Xcode is to download it from Apple’s website. If you are proficient enough, using the command line is the fastest.
In this article, we will look at all of the alternative ways to install Xcode, how to speed up the process, and how to resolve disk space problems. We’ll also look at the Windows alternative to Xcode.

FREE GUIDE - SwiftUI App Architecture: Design Patterns and Best Practices
MVC, MVVM, and MV in SwiftUI, plus practical lessons on code encapsulation and data flow.
DOWNLOAD THE FREE GUIDETable of contents
- What is Xcode?
- Installing Xcode from the Mac App Store — Simple but slow
- Installing Xcode from Apple’s Website — Faster download (Recommended)
- Installing Xcode from the command line — Even faster but complicated
- Using the Xcodes app — Best?
- What to do when you don’t have enough disk space to install Xcode (even if you think you do)
- Installing Xcode’s command line tools
- Running your Swift programs in Visual Studio Code on Windows or Linux
What is Xcode?
Xcode is an integrated development environment (IDE). In short, it’s an application with comprehensive functionality that helps developers write code and create apps.
If you want to learn to program in Swift and create iOS apps, Xcode is a must-have.
While it’s an extensive and powerful application, you don’t need all of Xcode’s power as a beginner. You can find Xcode’s user guide here, but I recommend learning it step-by-step along with Swift and iOS development.
Xcode is free of charge, even though it’s a complex app that Apple keeps improving yearly. It has had its problems in the past, but it’s now becoming one of the best IDEs.
Xcode is not available on Windows
Xcode only runs on macOS. There is no Windows version. You can use Visual Studio Code as an alternative, but it’s limited to Swift.
Apple’s frameworks for app development, like SwiftUI, are not available on Windows. You need a Mac computer to develop and publish iOS apps. You can read about how to find cheap Mac and iOS devices here.
I recommend getting a Mac that can run the latest version of Xcode. You can find a table with the minimum OS required by all versions of Xcode on this page.
Installing Xcode from the Mac App Store — Simple but slow
The simplest way to install Xcode on your Mac is to download it from the Mac App Store.
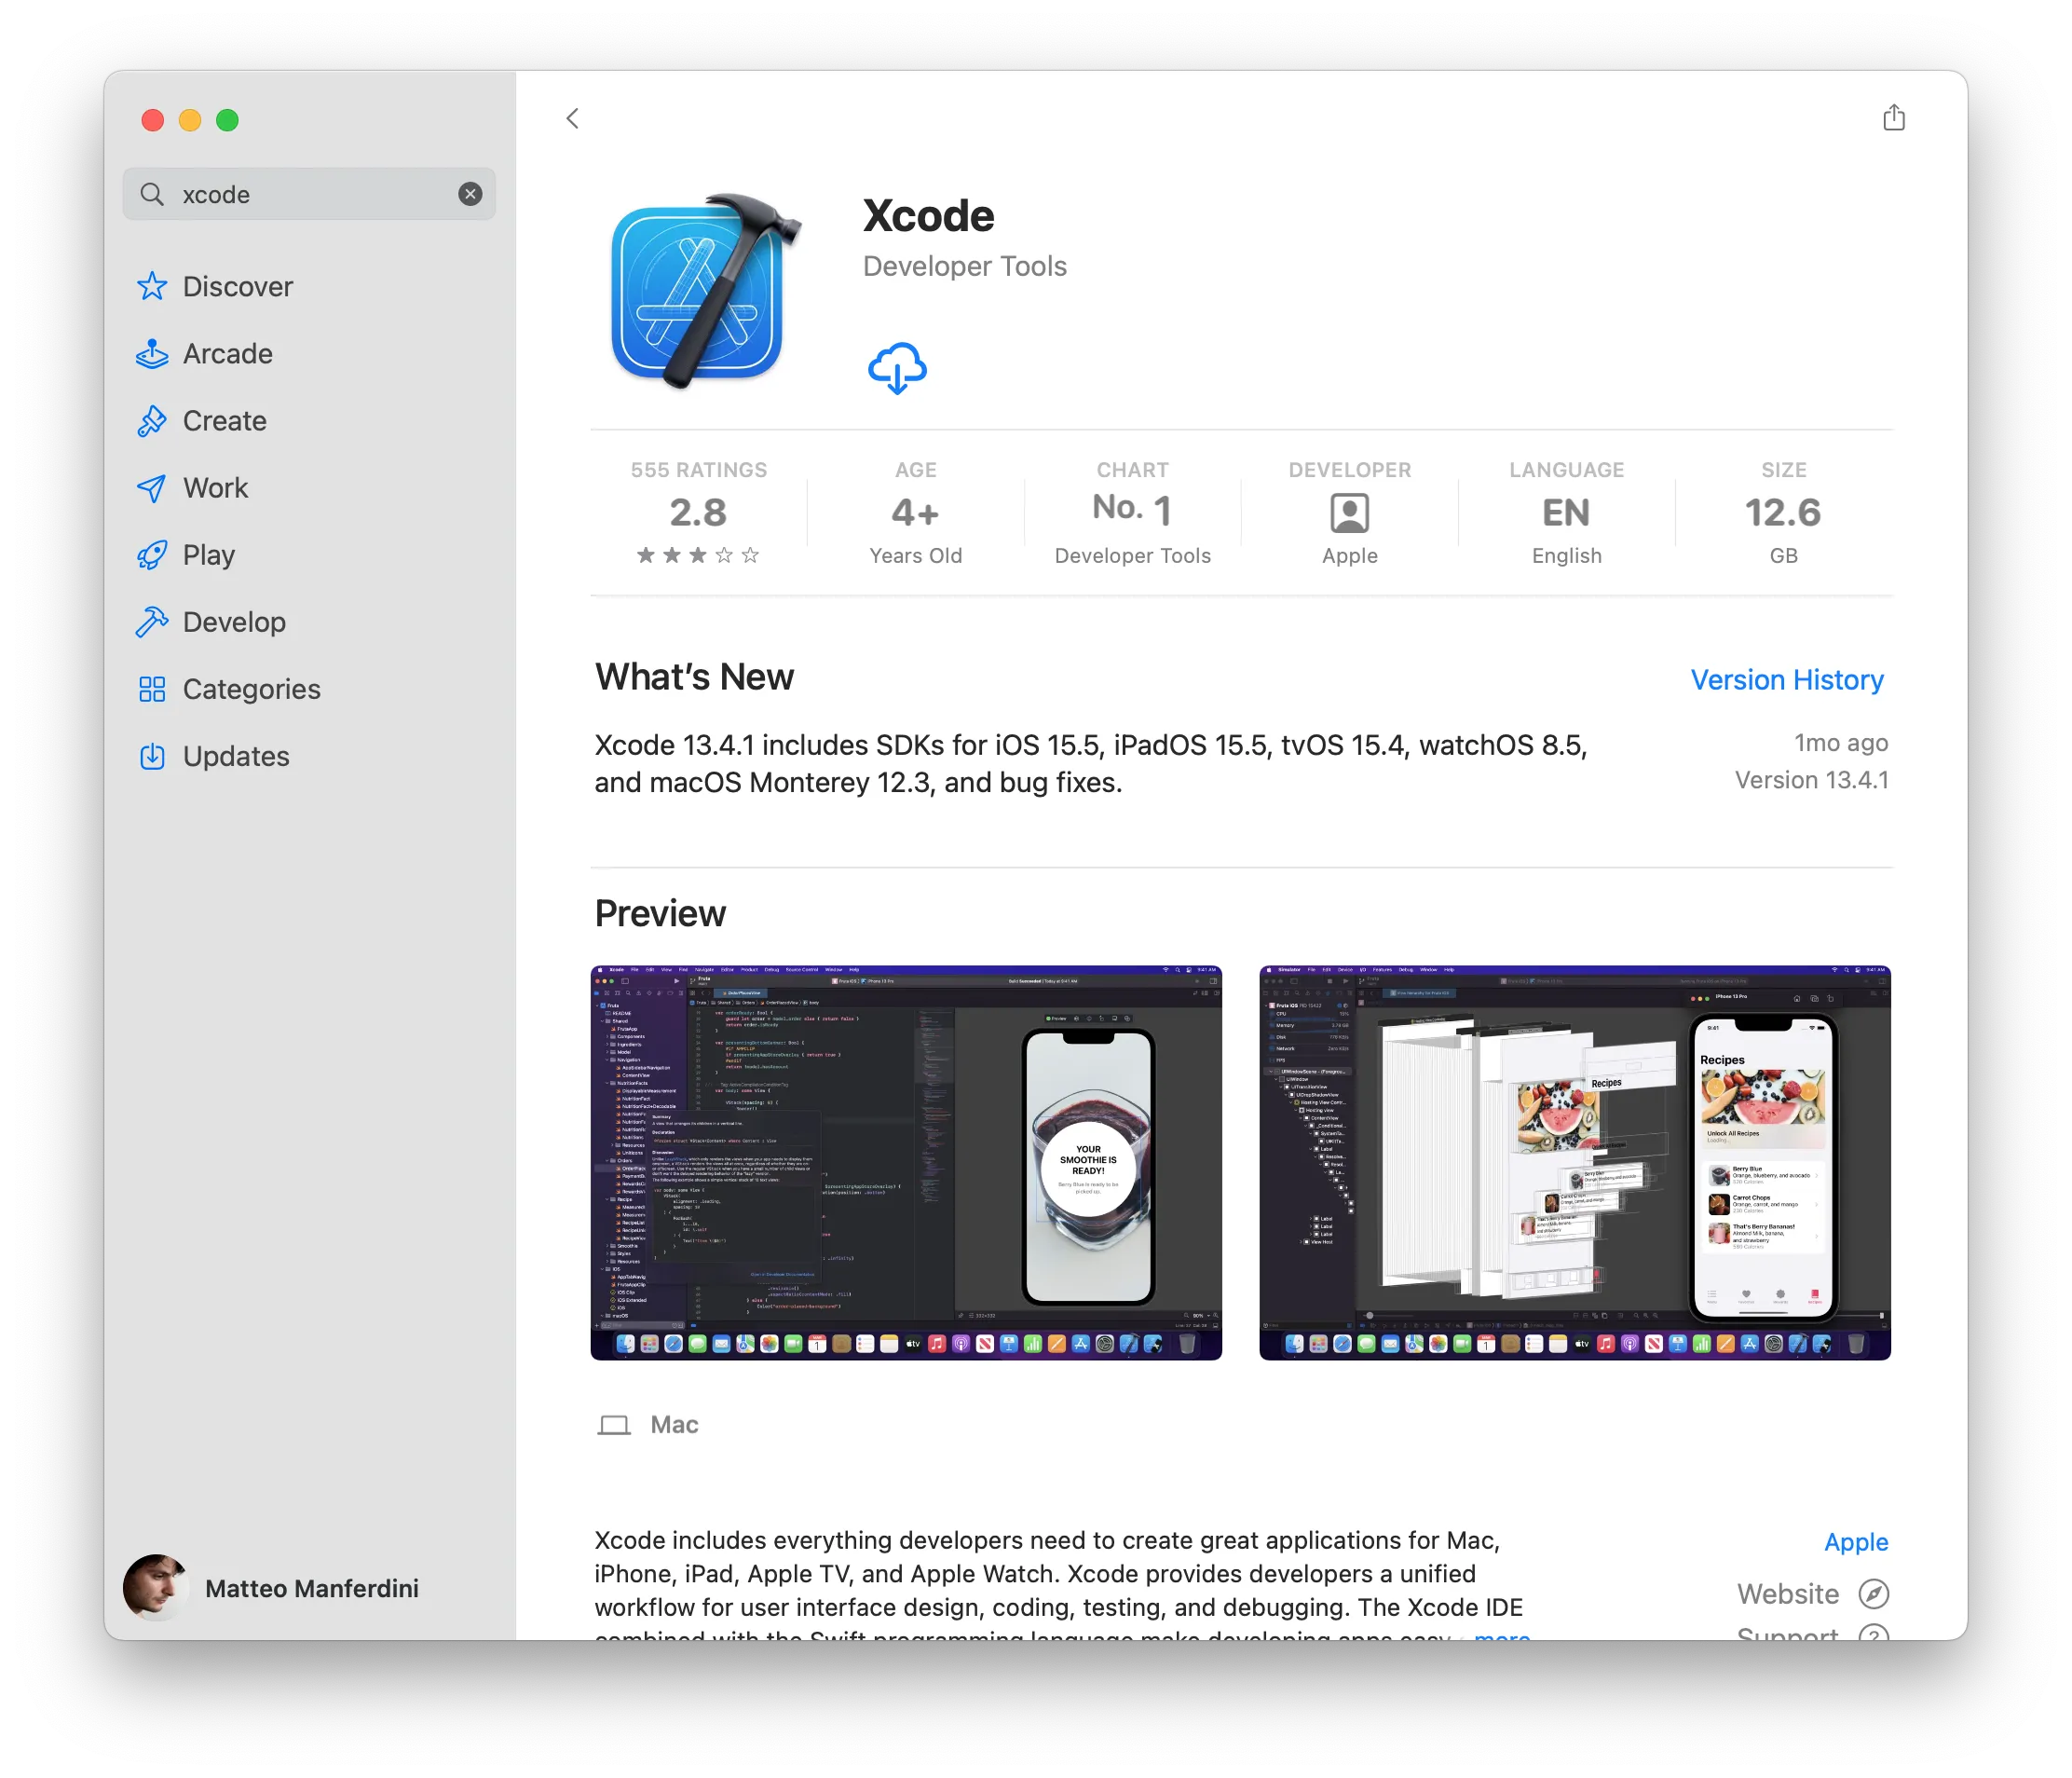
The advantage of using the Mac App Store is how simple it is to install and update Xcode. After installation, Xcode will be located in your computer’s Applications folder together with all of your other apps.
Unfortunately, this is not the best way.
Downloading from the App Store can be extremely slow. Sometimes the download hangs, and you have no recourse other than canceling it and starting again.
The most common problem you will find is not having enough space on your disk to install Xcode, even when you think you do.
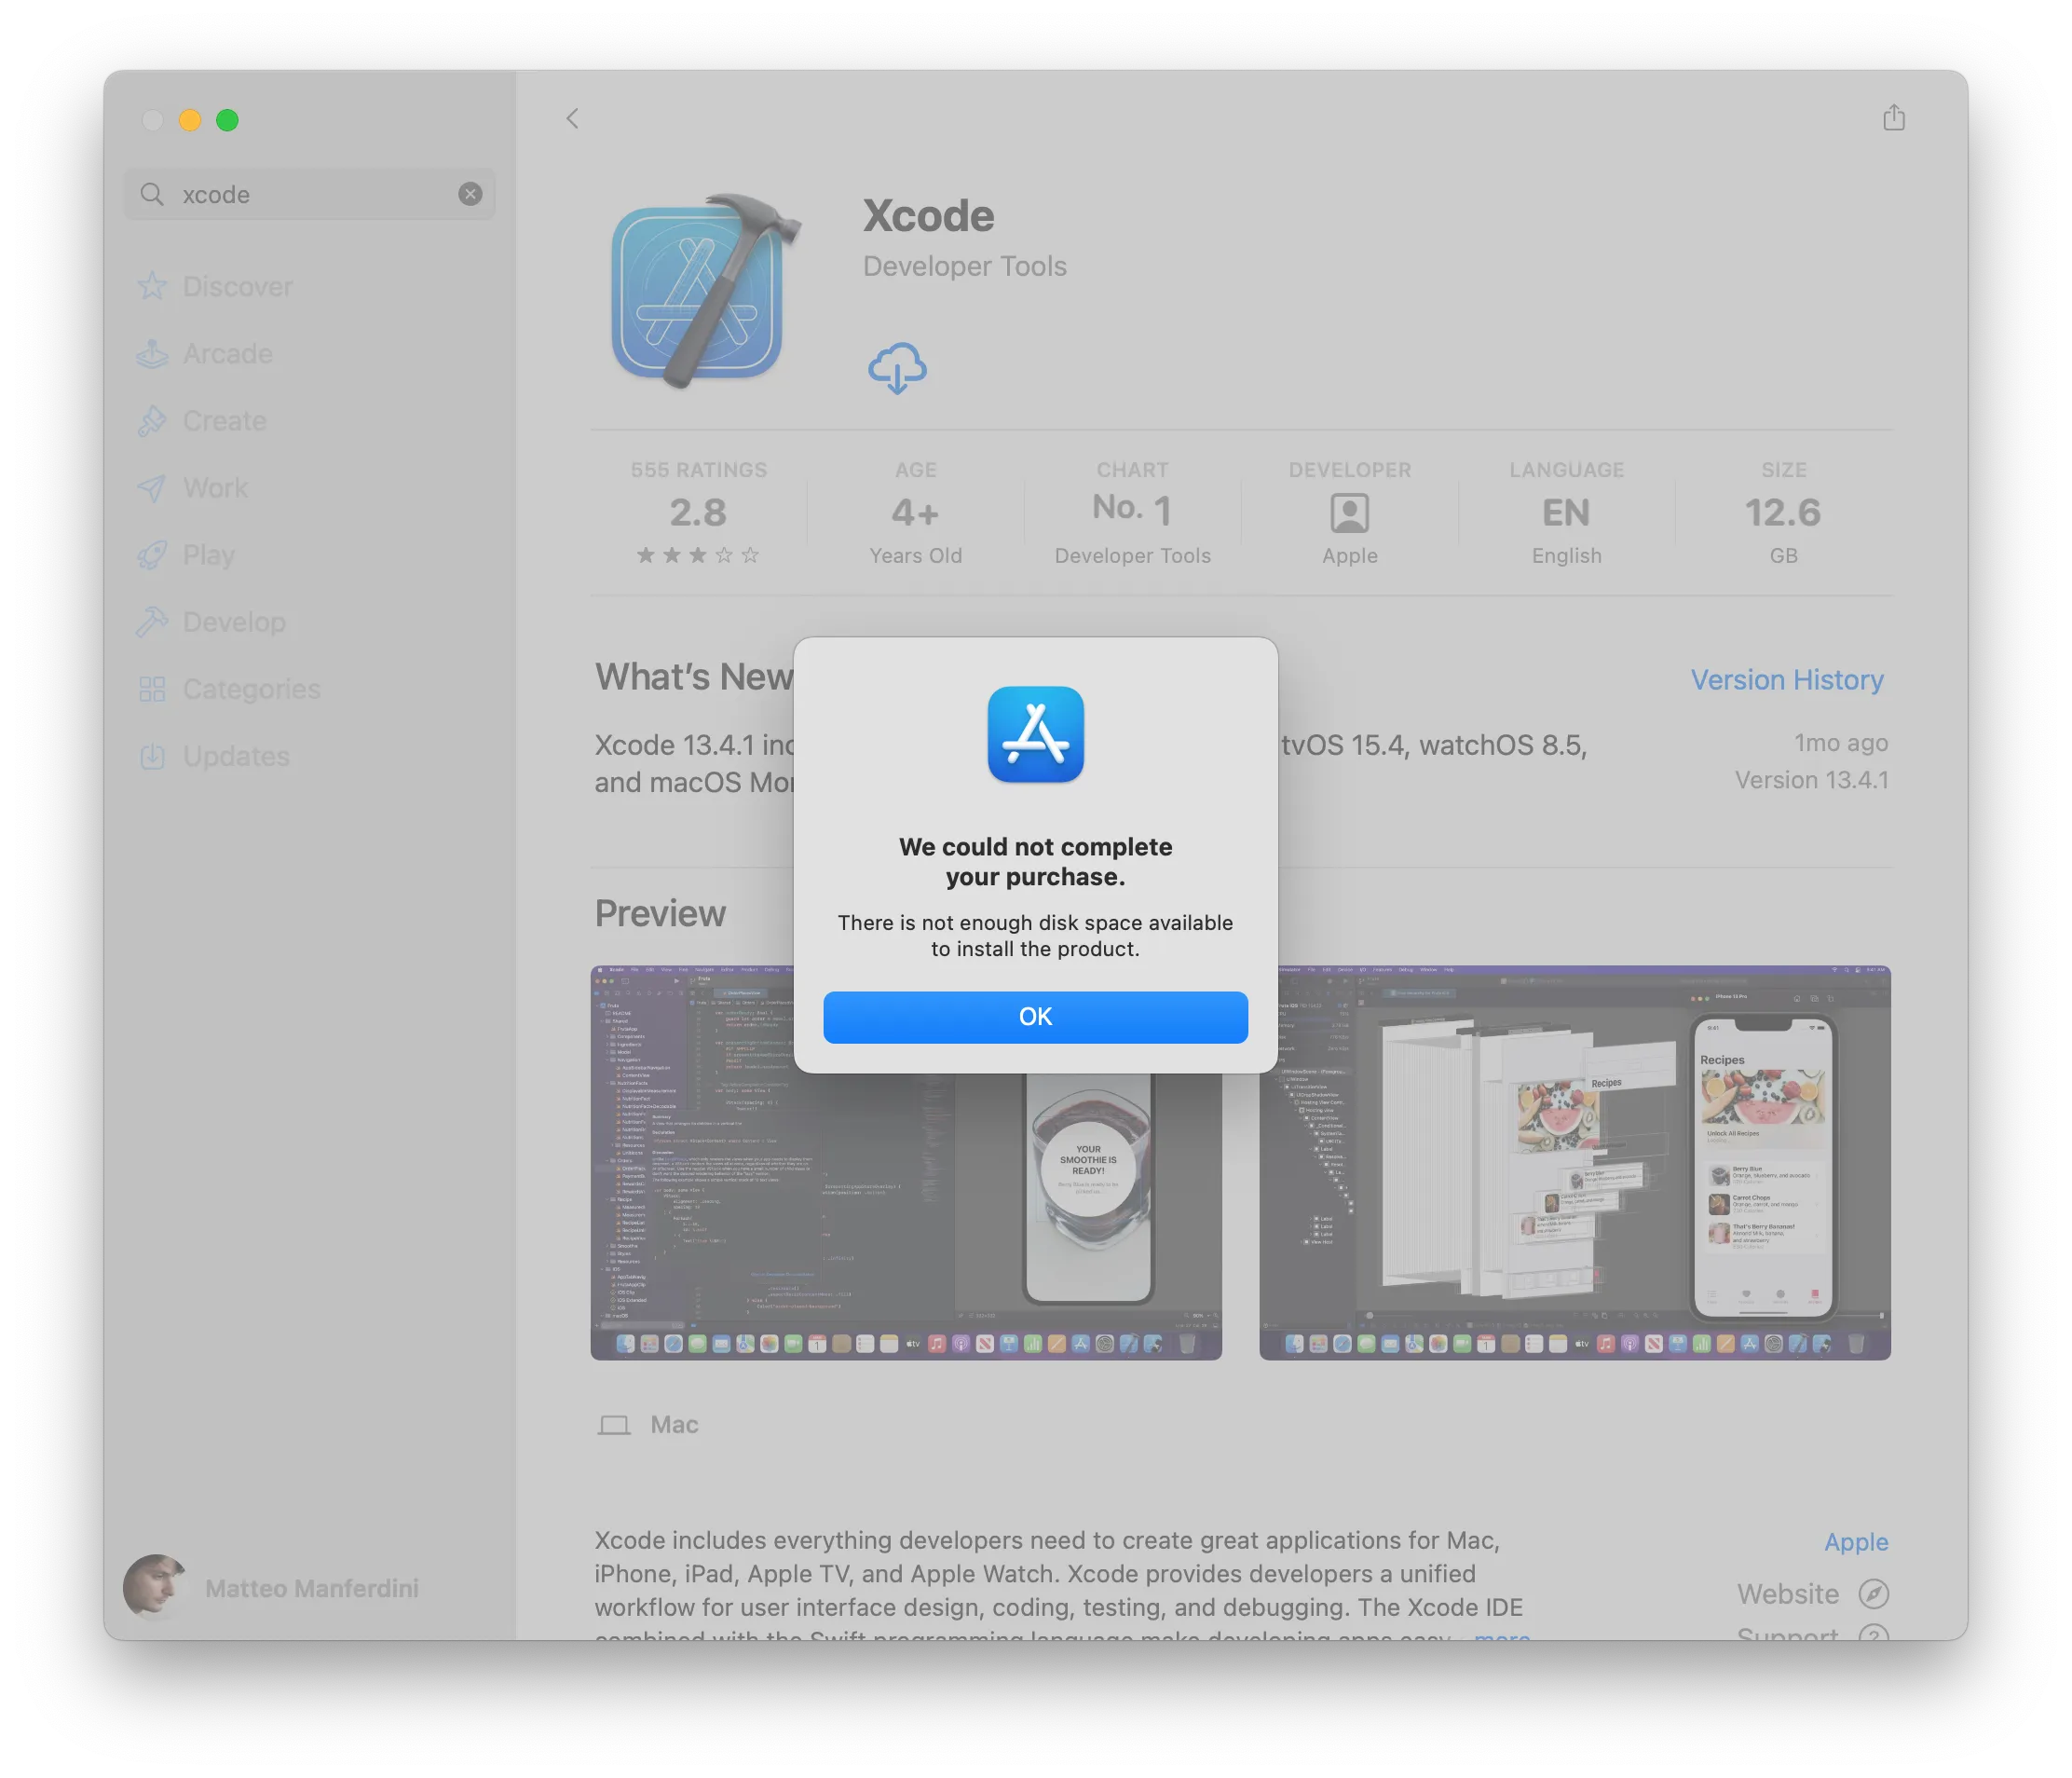
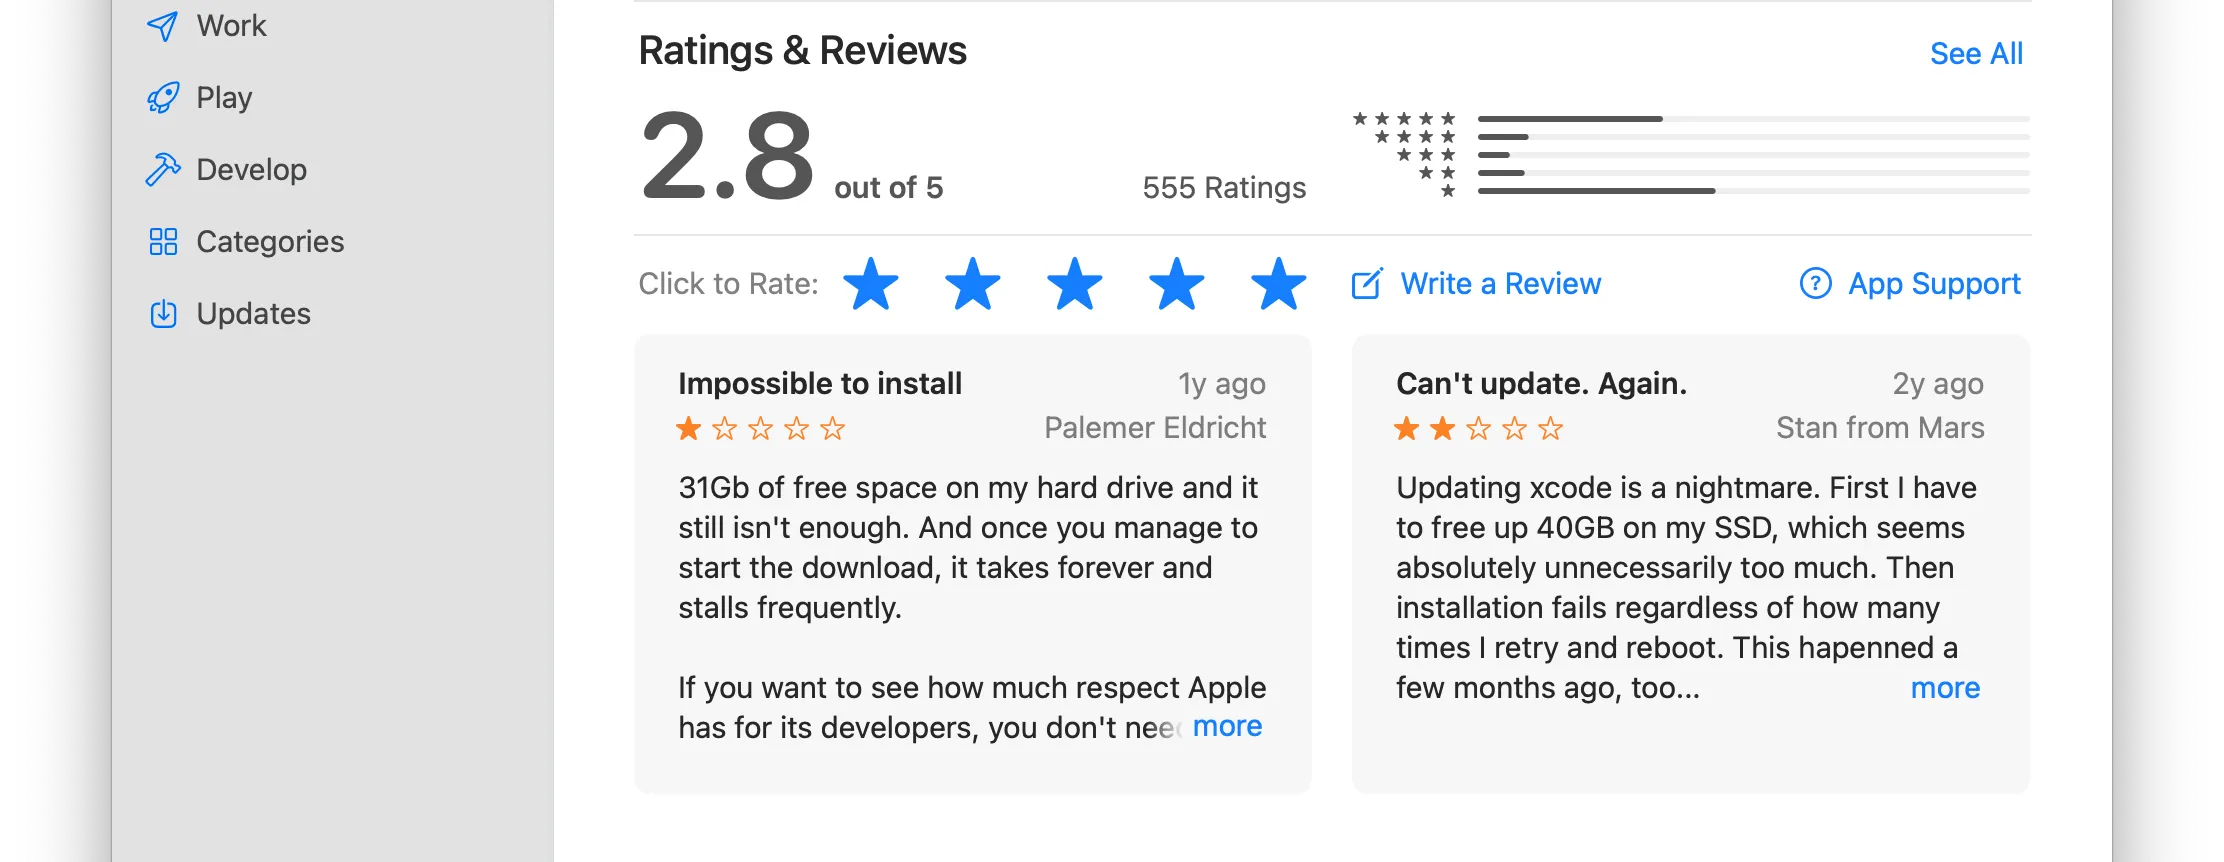
Most of the bad reviews on the App Store complain about this problem.
I’ll show you some solutions for this later.
Installing Xcode from Apple’s Website — Faster download (Recommended)
A better alternative to the Mac App Store is downloading Xcode directly from Apple’s website. You can find the download button in the top-right corner of the Xcode page.
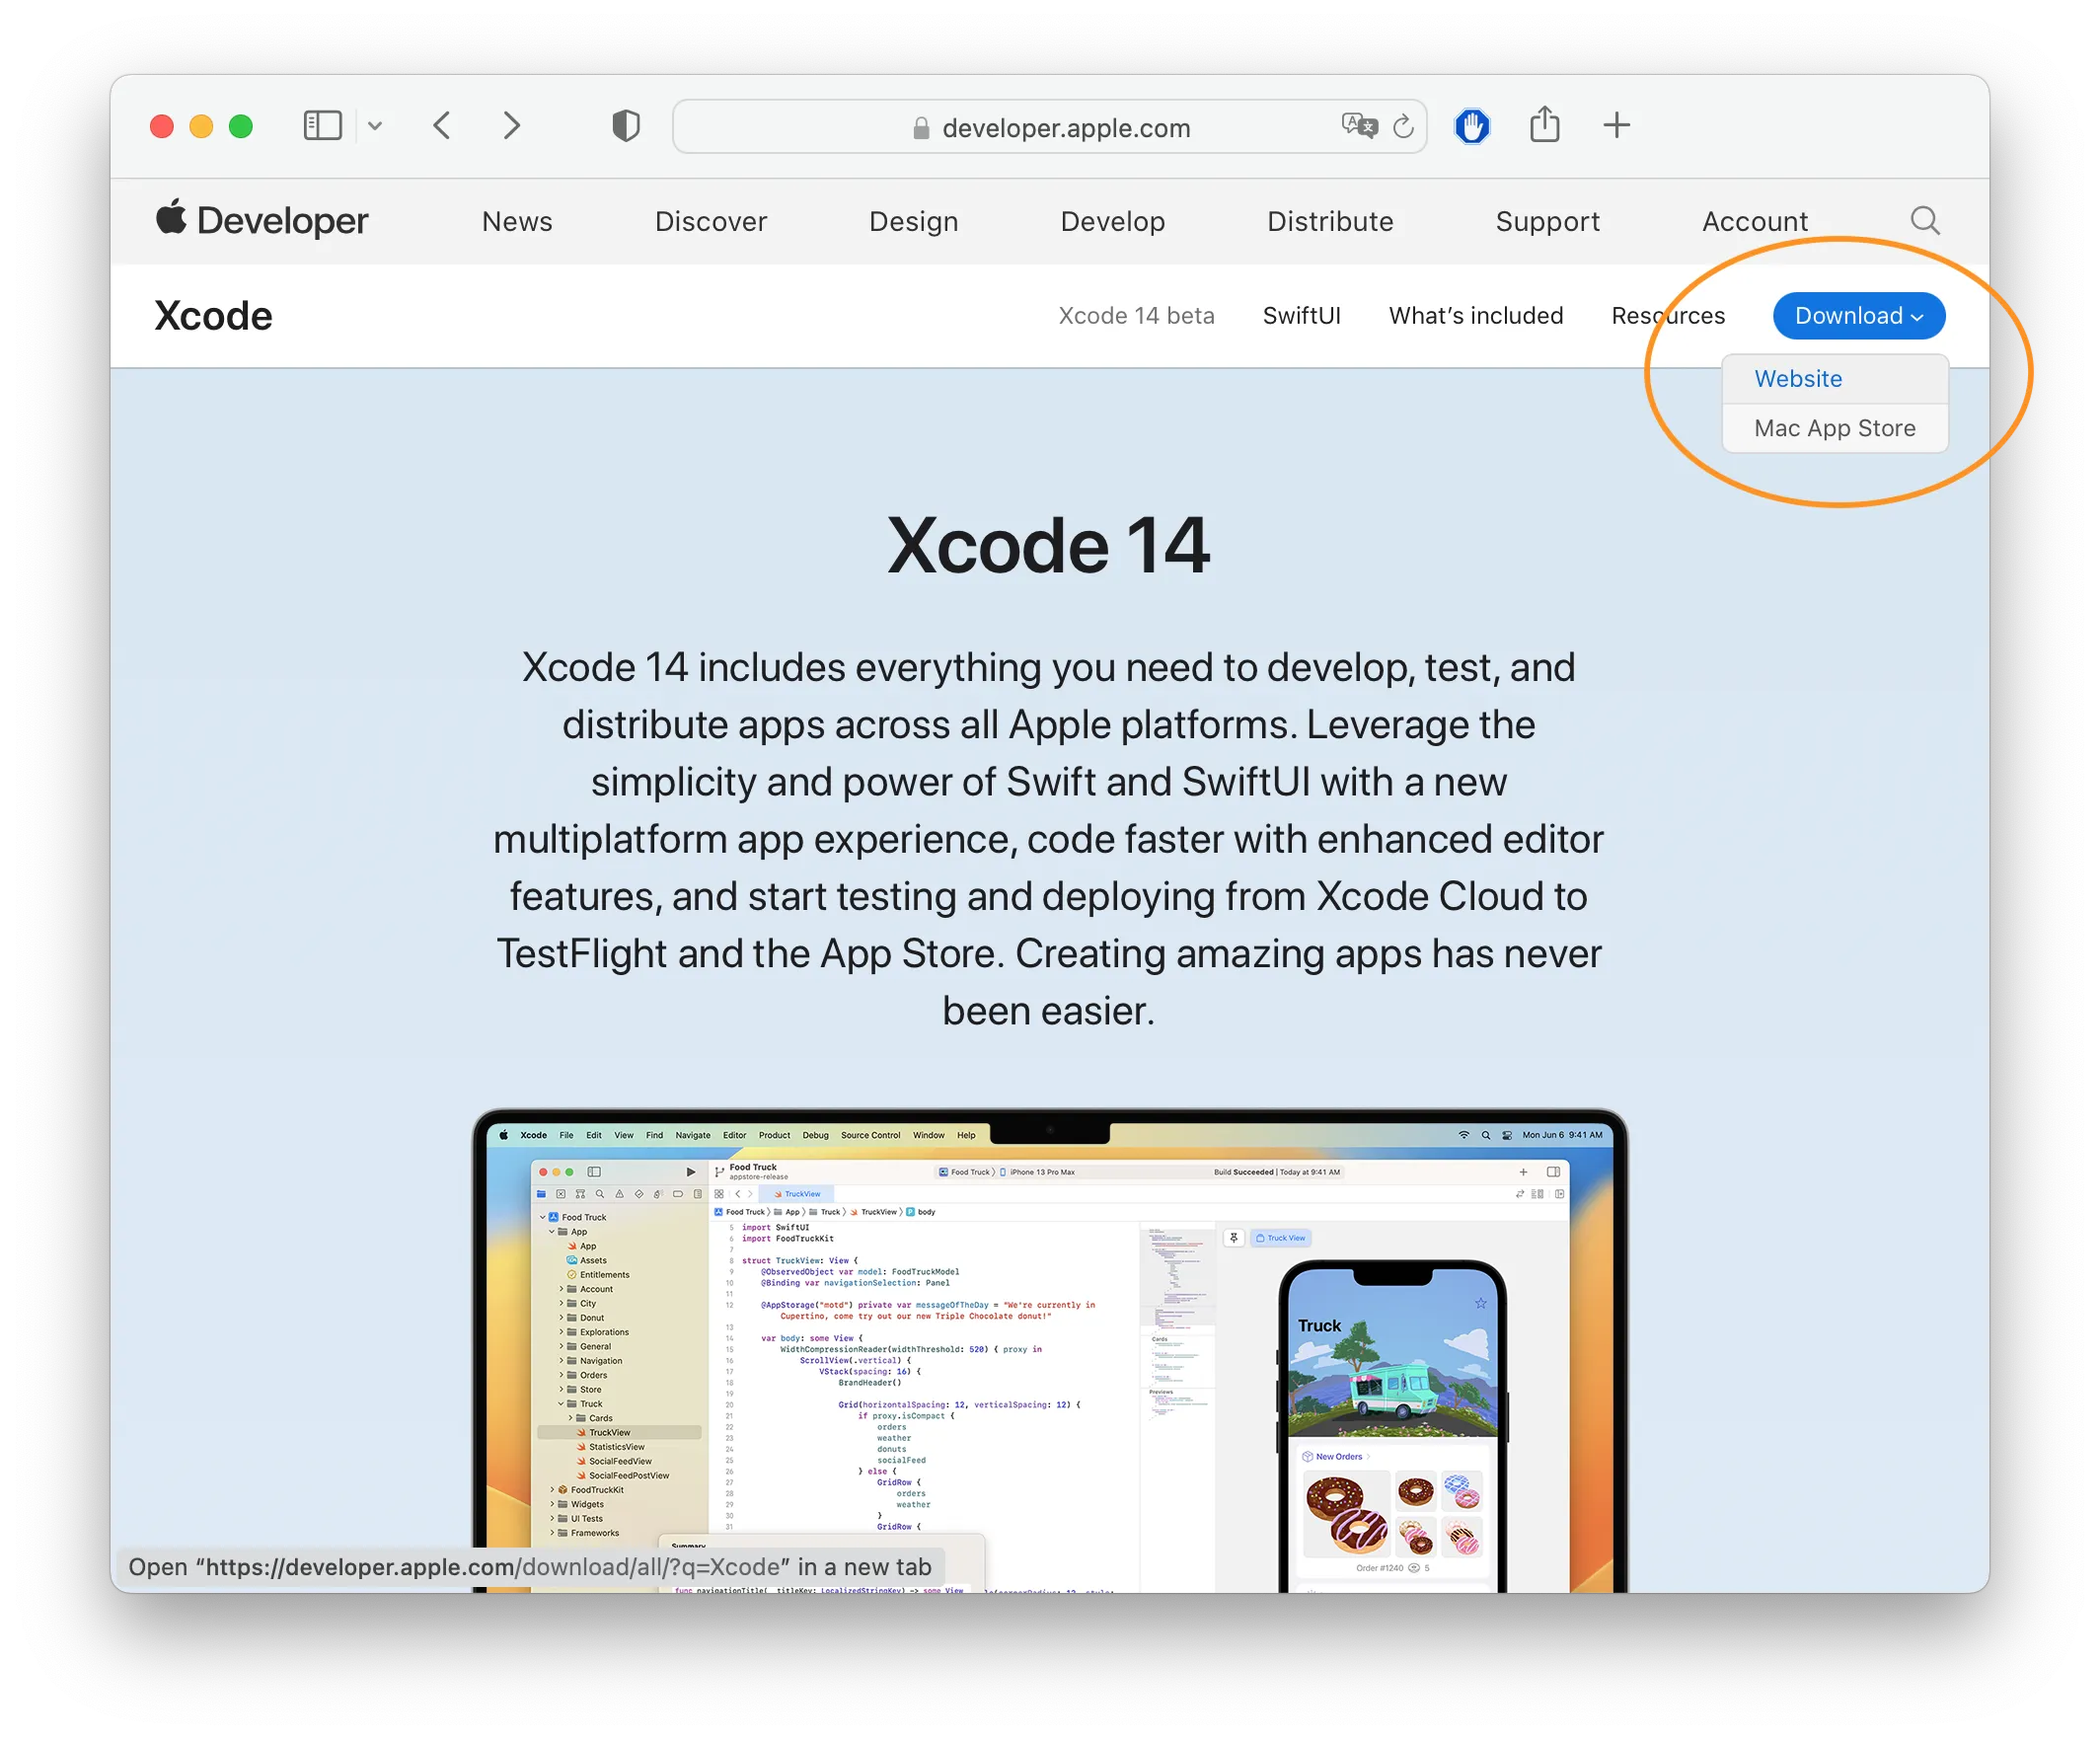
This is the method I recommend and the one I use myself. It’s faster than the Mac App Store and relatively simple.
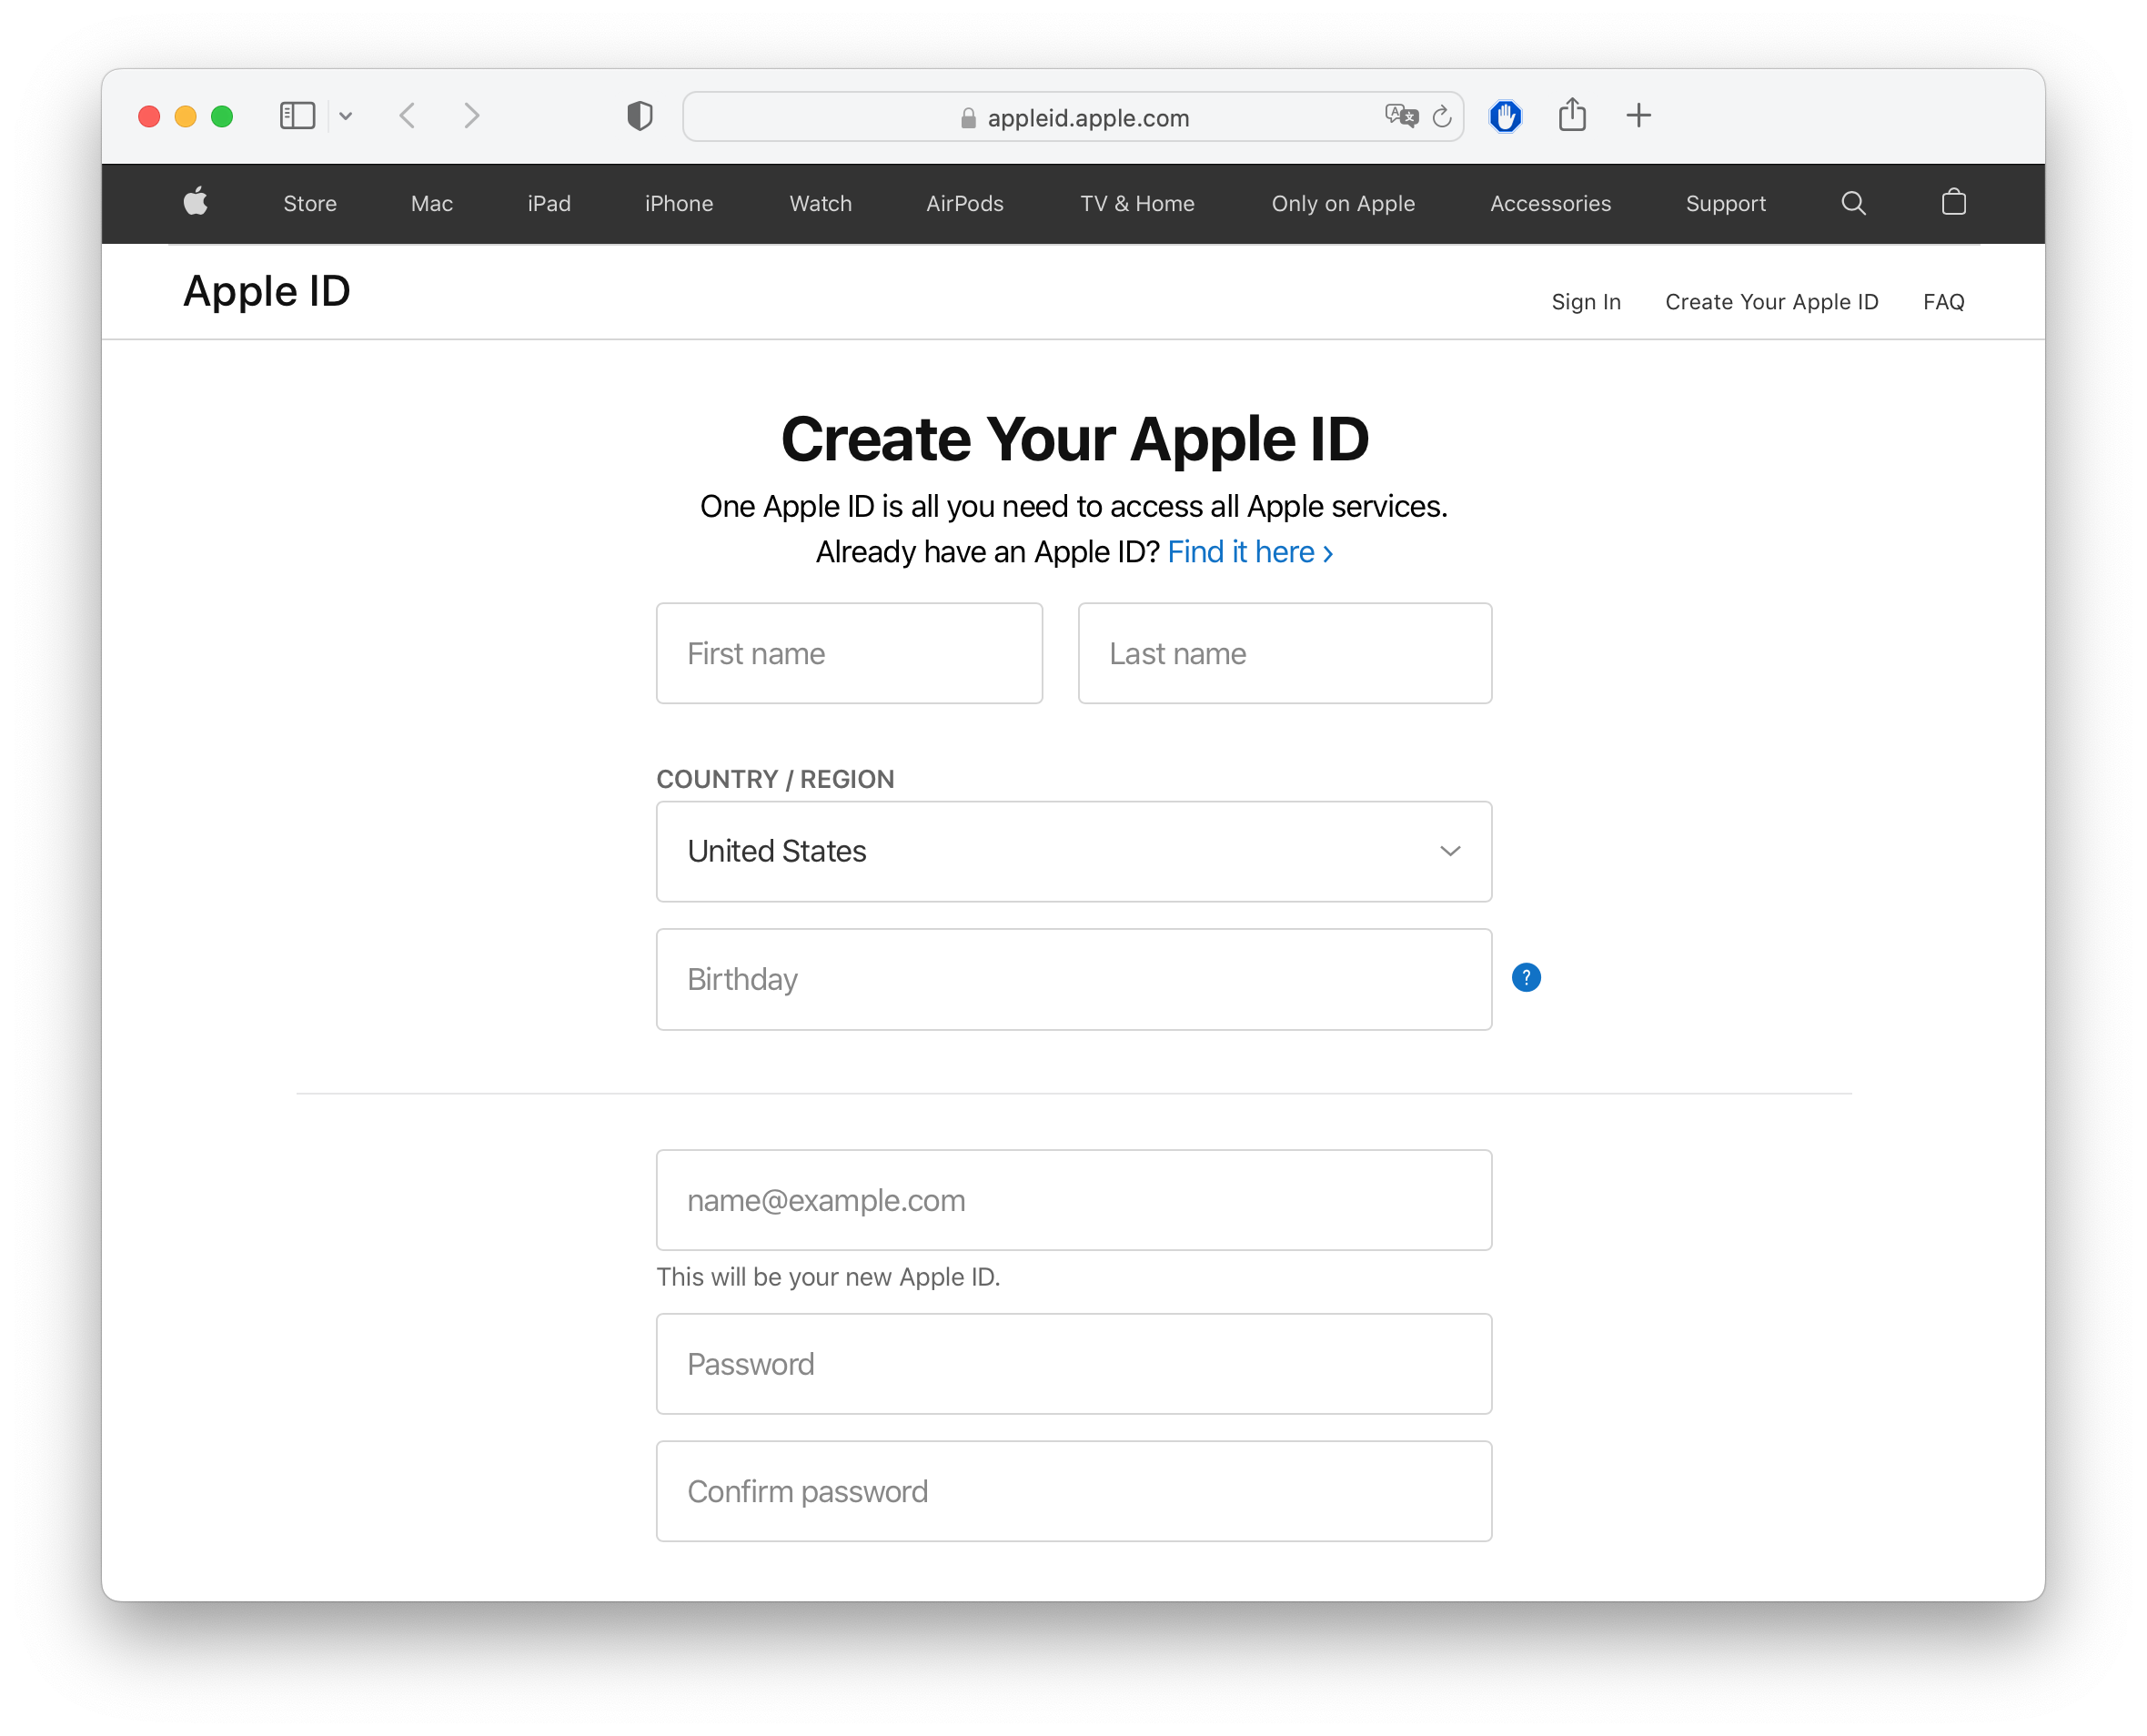
You cannot install Xcode without an Apple ID, but you can install Xcode’s command line tools, as I explain below. If you don’t have an Apple ID already, you can create one for free here.
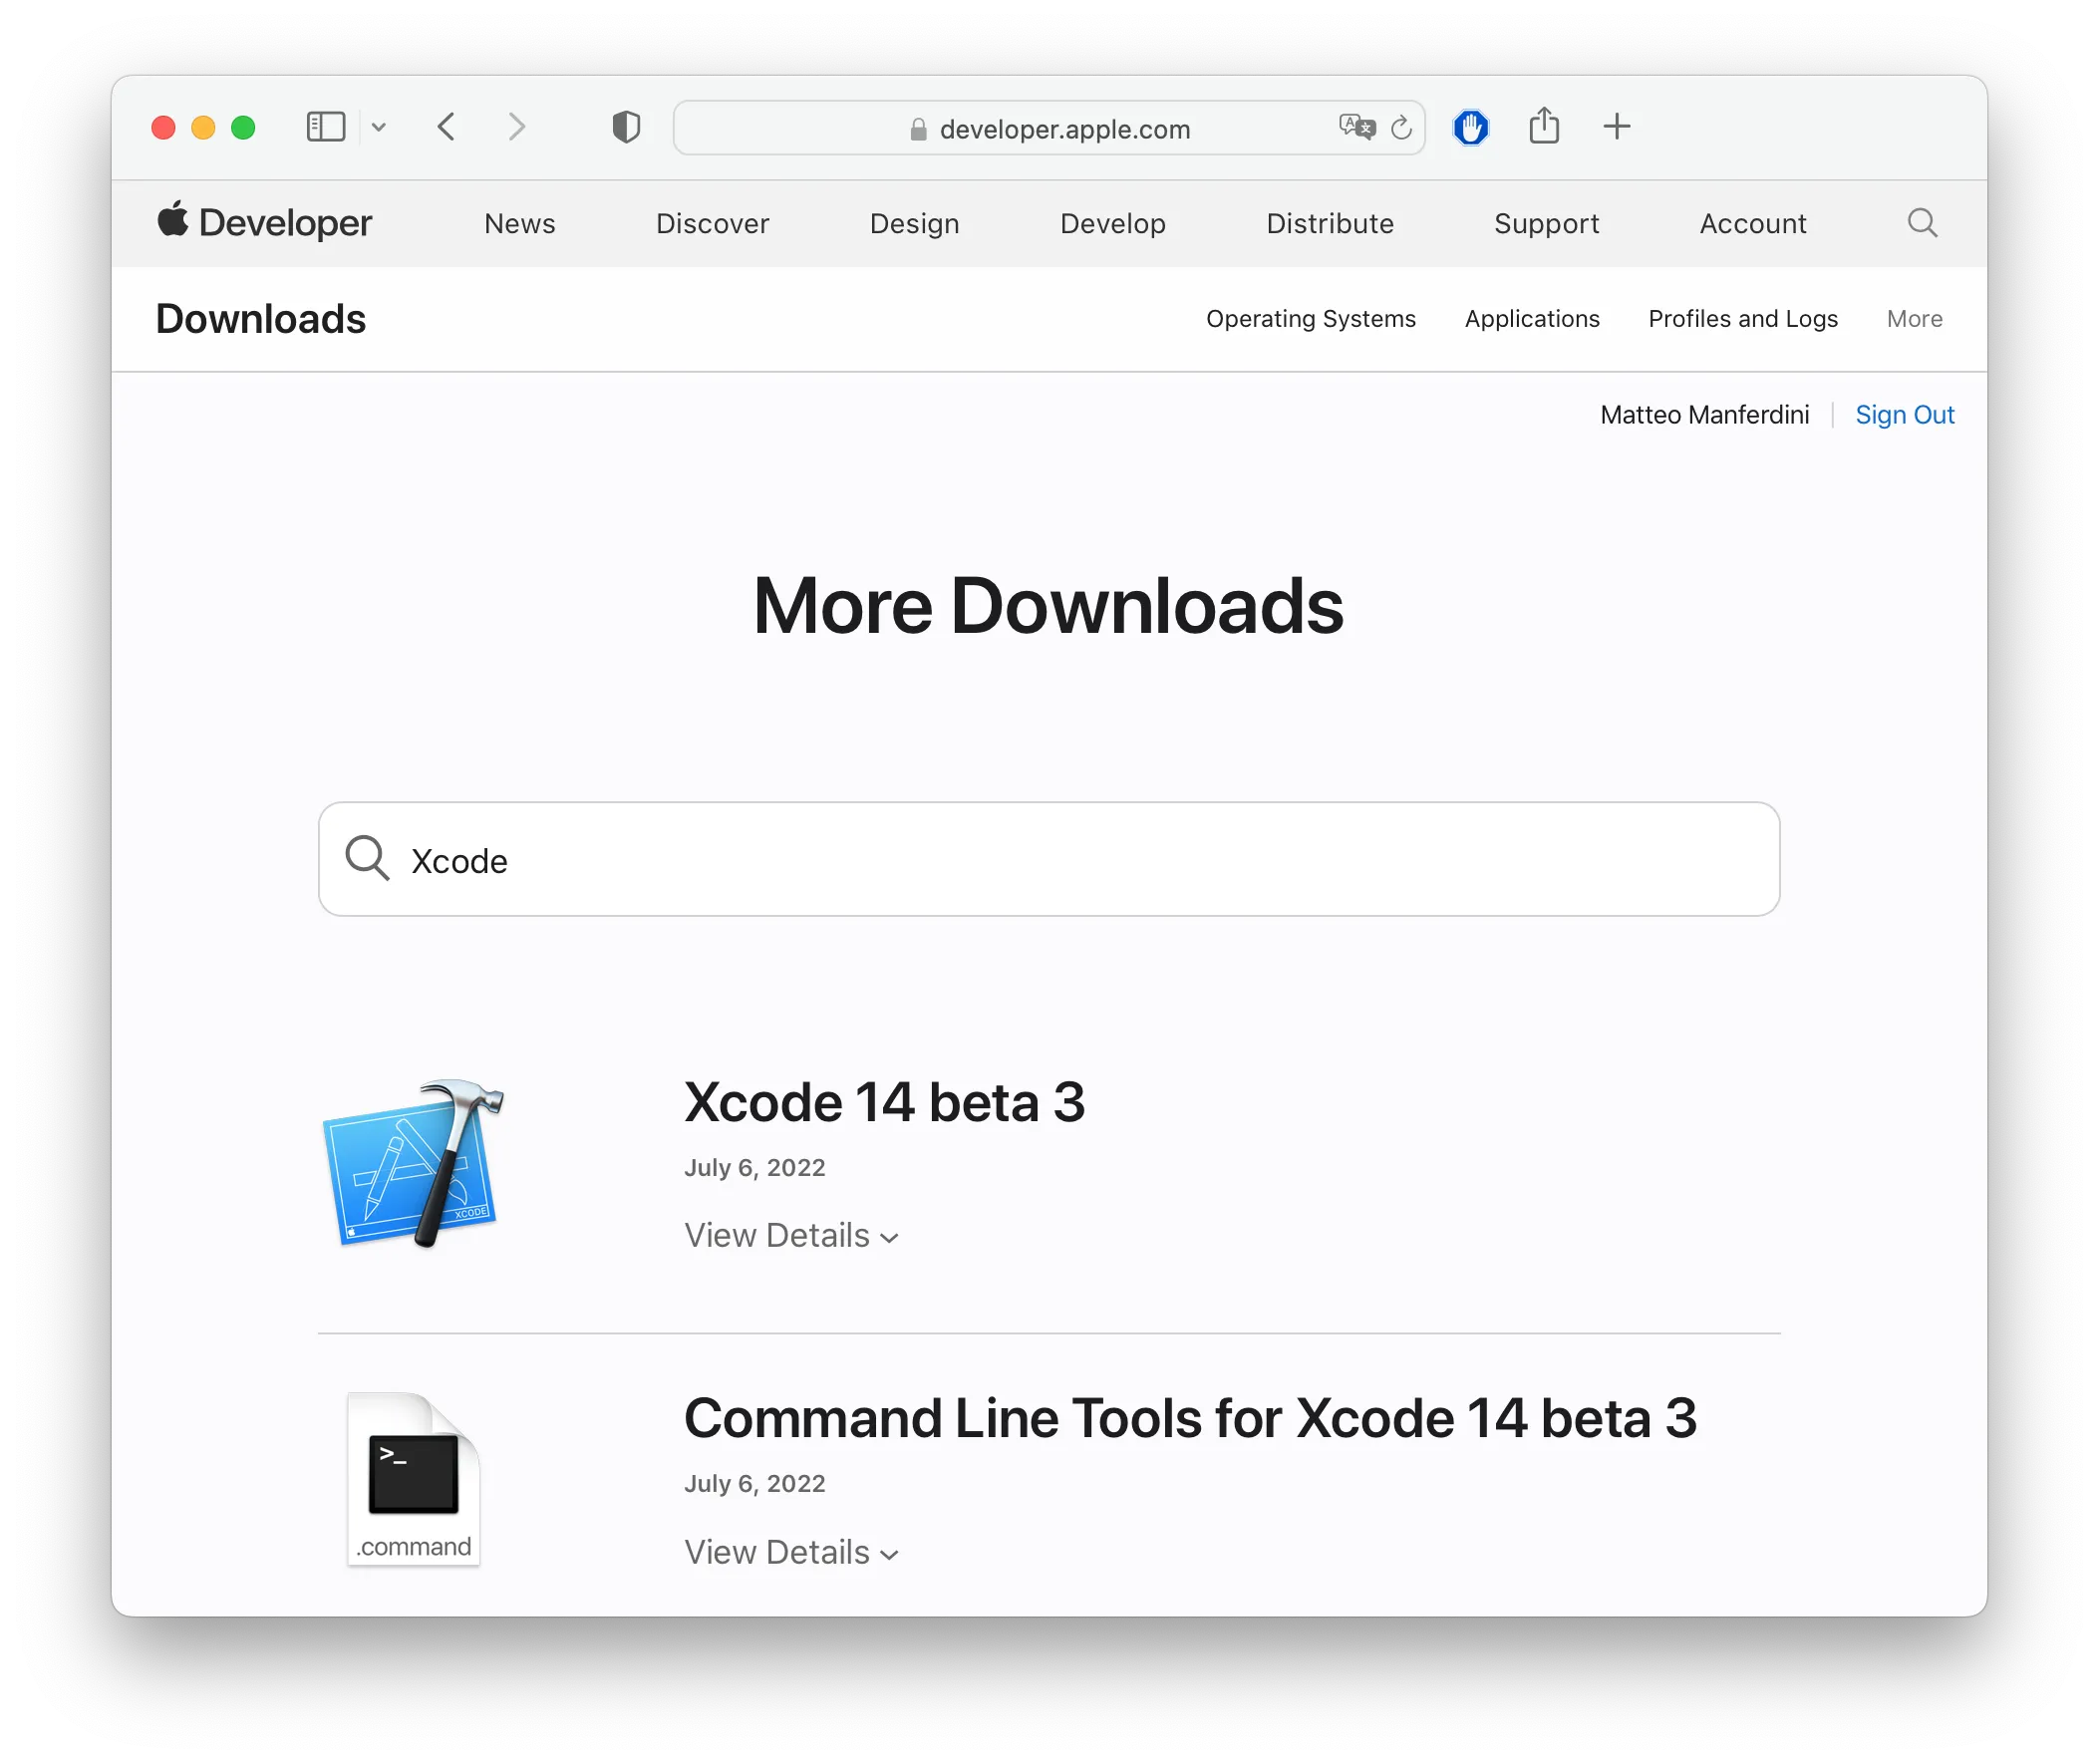
On the download page, you will find several versions of Xcode, including the latest beta announced at Apple’s last World Wide Developer Conference (WWDC).
Which version of Xcode should you get?
- If you want to learn the latest features of Xcode, Swift, SwiftUI, and other Apple frameworks, download Xcode beta. Beware, though, that it can be buggy and crash often. You cannot use beta versions of Xcode to submit apps to the App Store.
- If you need to develop an app for the App Store, get the latest stable version of Xcode (which will be the version on the Mac App Store).
Your download will be a .xip archive file. Double-click on it to extract Xcode and then drag it into your Applications folder. And don’t forget to delete the archive once you have finished.
This can still be a long process, so keep reading if you know how to use the command line and want to save the most time.
Installing Xcode from the command line — Even faster but complicated
The fastest method to download and install Xcode is also the most complicated. It uses the aria2 command-line download utility that can open up to 16 connections. This makes the download much faster.
This method is only for experienced developers. It requires you to:
- use the command line;
- install the aria2 tool from its website or use Homebrew; and
- copy the download authorization cookie from Safari.
If you know how to do all of these things, you can find a step-by-step explanation here.
Decompress the Xcode XIP archive from the command line for faster performance
Once you have downloaded the Xcode .xip archive, you can decompress it using the command line:
xip -x Xcode_13.4.1
This is at least 25% faster than decompressing it in the finder and sometimes even twice as fast. If you want to know why, read this Twitter thread.
Using the Xcodes app — Best?
There is a solution that puts together all the best parts of the ones above.
If you are into using a third-party app, you can download the Xcodes app.
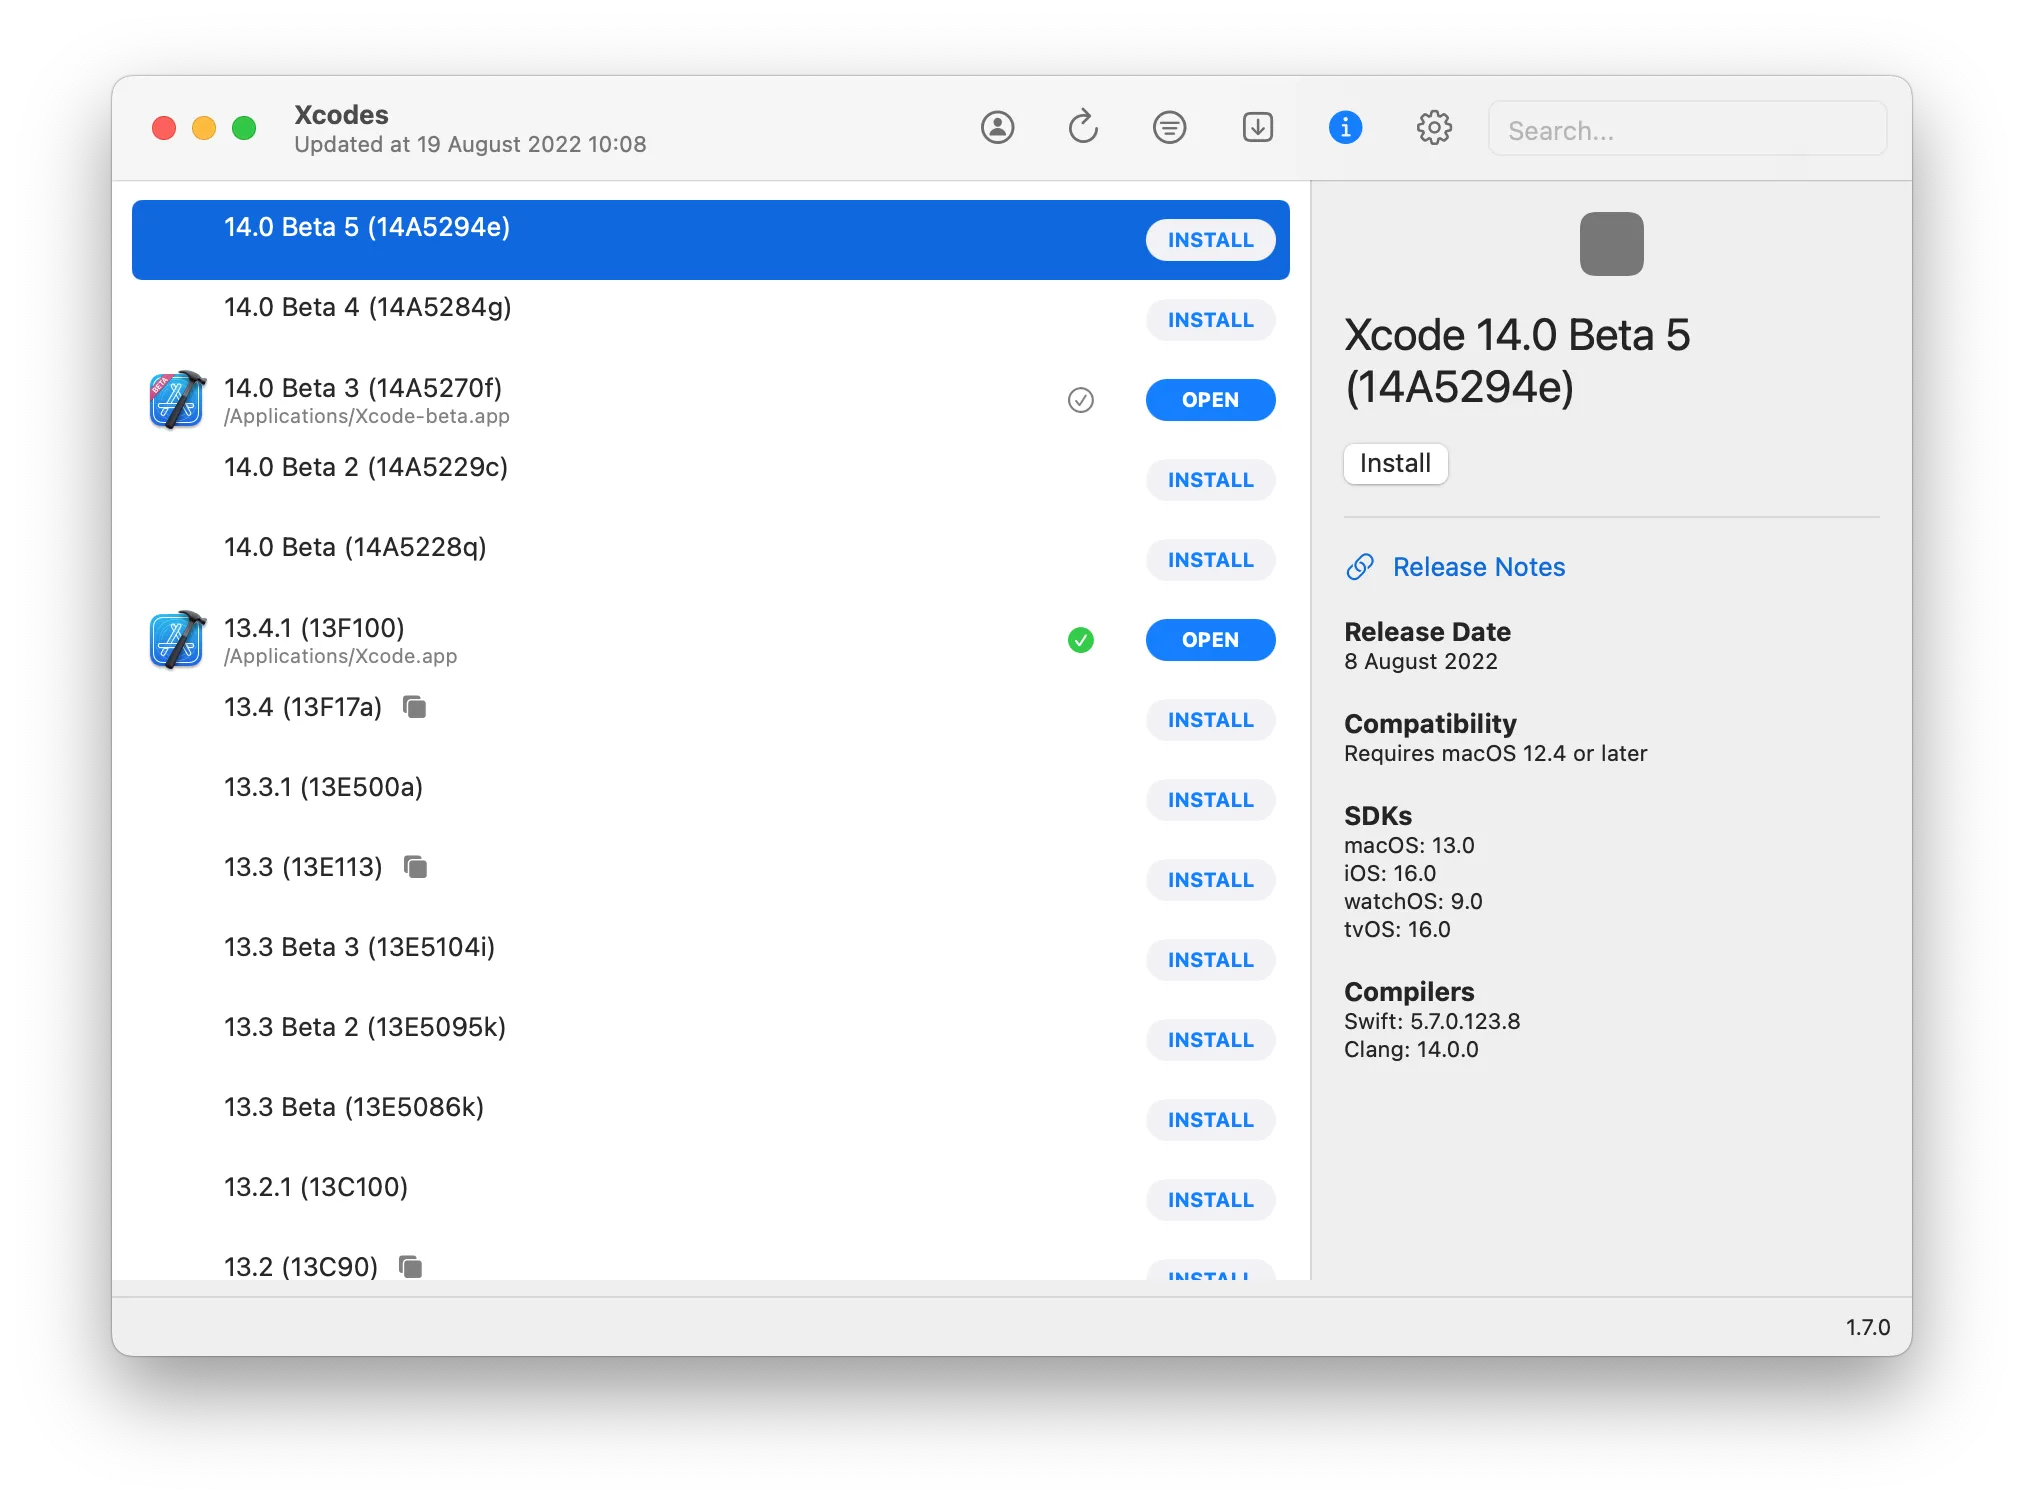
The Xcodes app not only uses the fastest ways to download and unarchive Xcode but also offers additional features like uninstalling, release notes, OS compatibility, and included SDKs and compilers.
Are there any drawbacks?
First, the app requires your Apple ID to work, something I am not keen on doing.
I have no reason to assume any malice from the developers. The app is also open source, so anyone can check its code (but I have no intention to do so).
However, malice is not the only security risk you run when giving your credentials to a third party, so I avoid it whenever possible. You can decide your risk level by yourself.
Second, at the time of writing, the app also seems to have a series of issues, like its own frustrating error message. I can’t be bothered installing “Yet another app” when the solution I use takes two steps (downloading from Apple’s website and decompressing).
I also do not find the other features of the app compelling, but you might.
And finally, there will be cases where you won’t be able to use this app, and you will need one of the solutions above. For example, you might not be allowed to install third-party apps on a company computer.
What to do when you don’t have enough disk space to install Xcode (even if you think you do)
People’s biggest complaint about Xcode is not having enough space on their disk to install it.
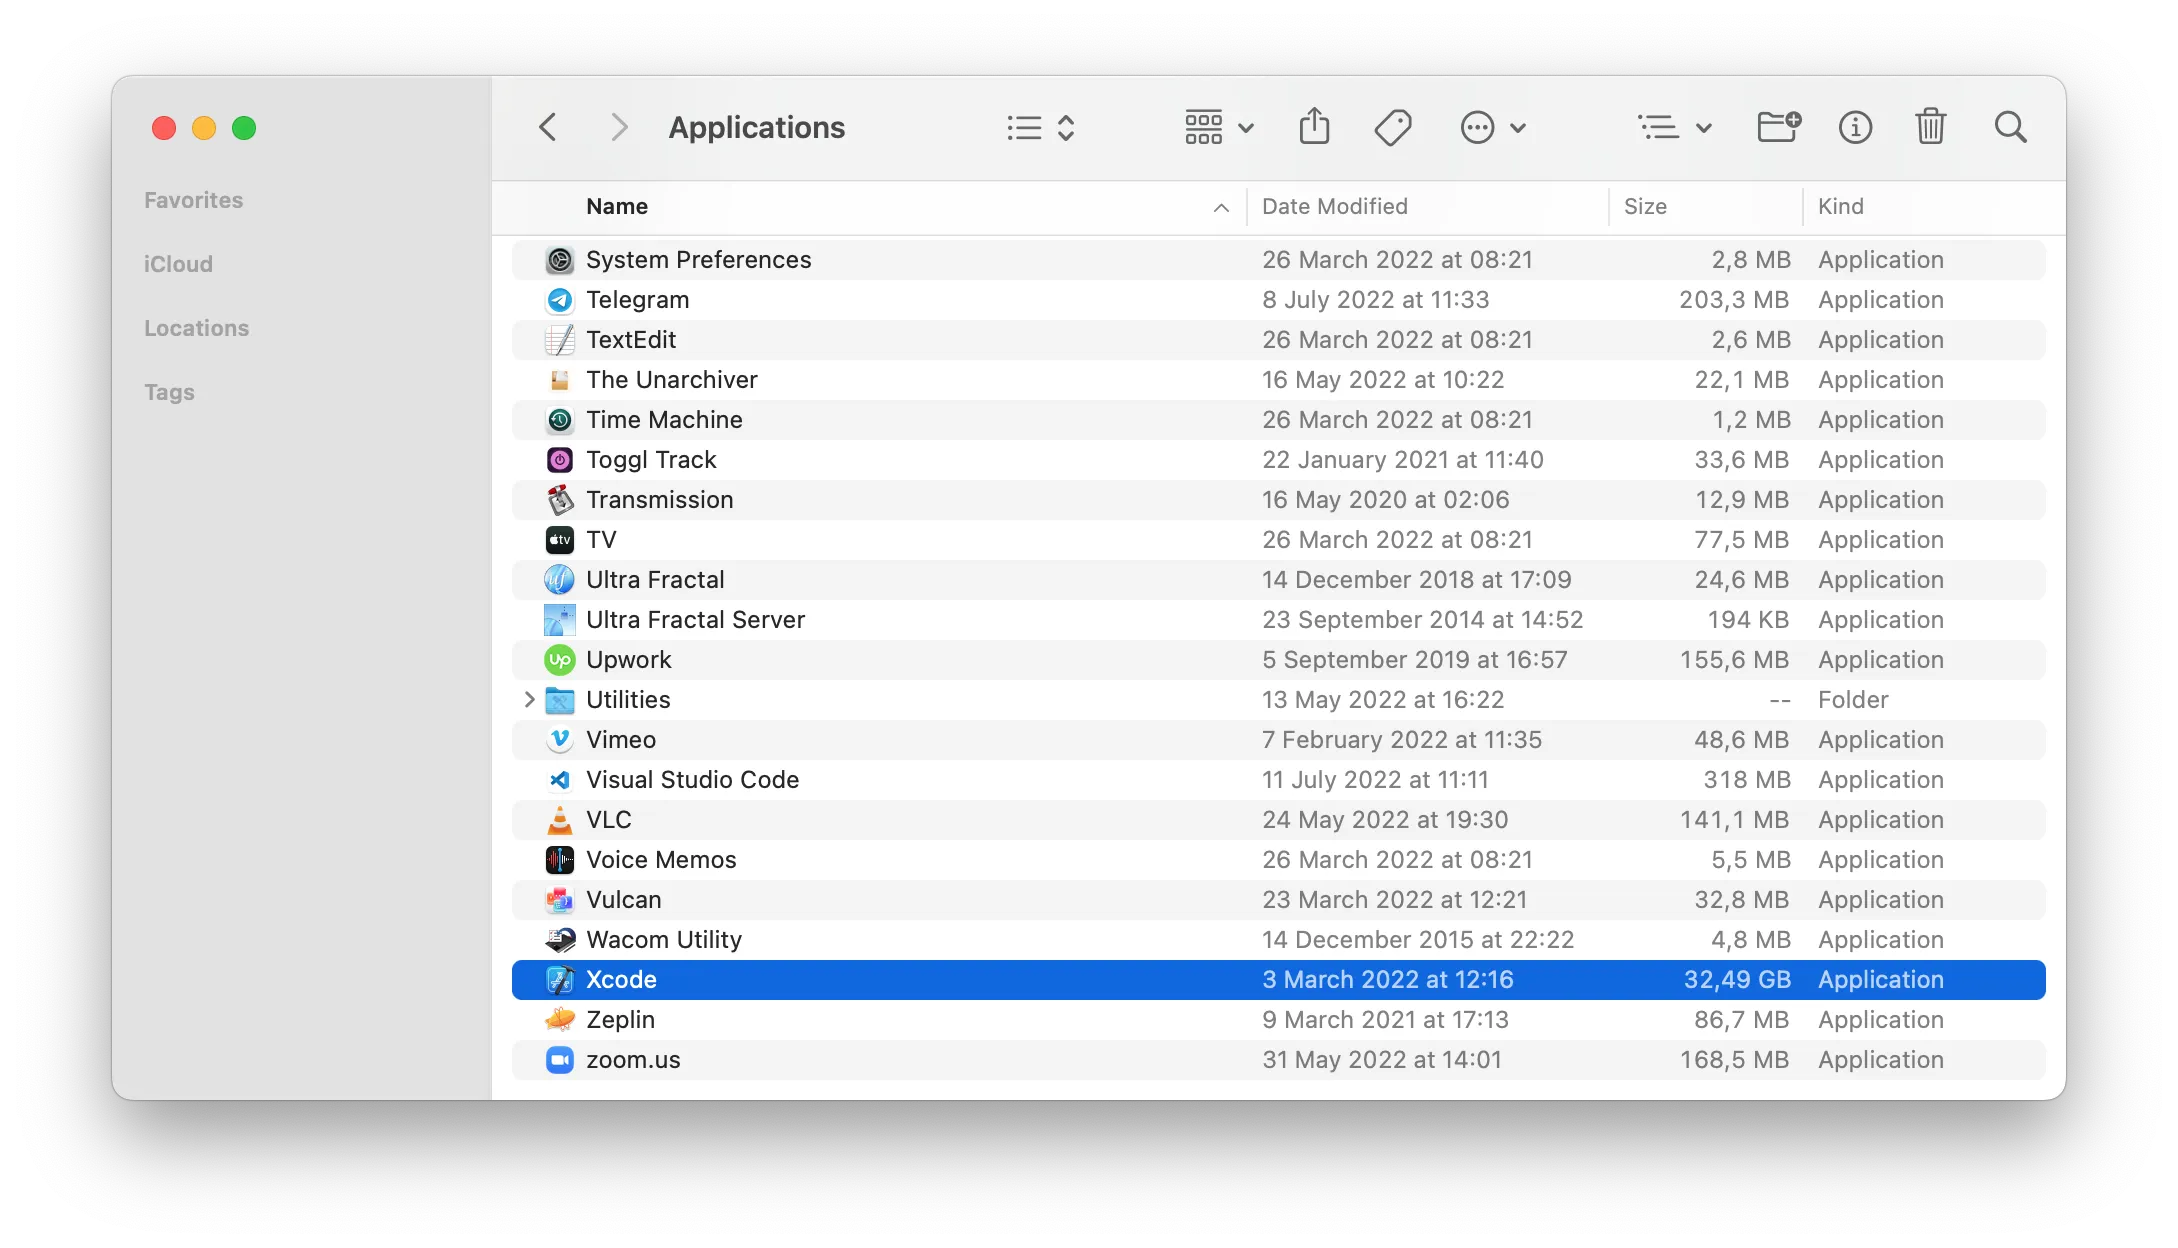
This happens because Xcode is a giant beast. Xcode 13.3 requires almost 33GB of disk space.
But that’s not all. Whether you download Xcode from the App Store or Apple’s website, you also have to factor in the archive file size.
The archive file for Xcode 13.4.1 takes up 10GB if you get it from Apple’s website and 12.6GB if you get it from the App Store. That’s the first reason why you might think you have enough space when you don’t. The other is related to APFS containers, which I’ll cover in more detail at the end of this section.
To know how much space you need, you have to add up the size of both files. So, you need at least 46GB of free disk space to install Xcode 13.4.1. And actually, you need even more than that because macOS needs some space for paging.
If you are like me, your disk is always almost full. So, let’s see how you can free up enough space to install Xcode.
- Download Xcode 14 beta if you can
- If you have never installed Xcode, delete large data or (temporarily) move it to an external drive
- Wipe out caches and other data that can be downloaded or generated again
- Freeing space when you have Xcode already installed
- What to do when you have enough free space, but you still get errors
If you already have Xcode installed, skip to the corresponding section to find out how you can free up disk space quickly.
Download Xcode 14 beta if you can
After years of complaints from developers, Apple finally listened.
One of the reasons why Xcode takes up so much space is that it contains the SDKs for iOS, macOS, tvOS, and watchOS.
But most developers don’t need all of these. Xcode 14 bundles the iOS and macOS SDKs and lets you only install the tvOS and watchOS SDKs if you want to.
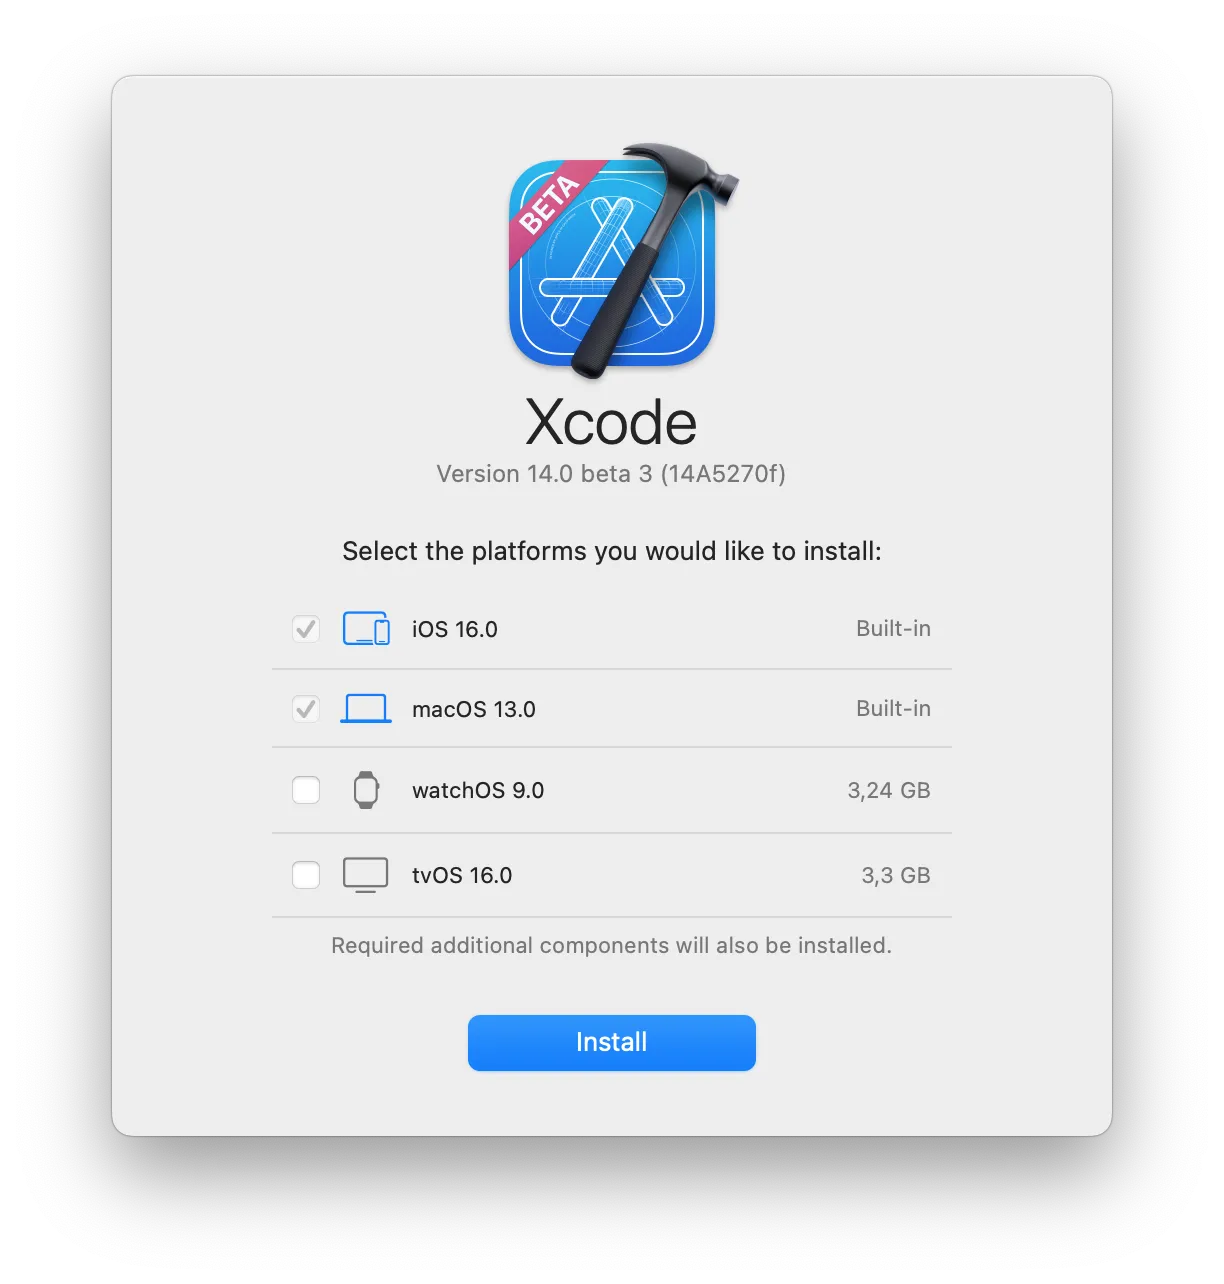
Xcode 14, in beta at the time of writing, takes up just under 23GB, and its XIP archive takes up 7.5GB. So you only need 31GB of free space, which is 15GB less than what you need for Xcode 13.4.1.
If you have never installed Xcode, delete large data or (temporarily) move it to an external drive
If you have never installed Xcode, your options are limited, but it does not mean you can’t free up enough space for Xcode.
You will, however, need to delete some data or move it to an external drive. Since you only need most of the space to decompress Xcode, you can move the data back when you are done.
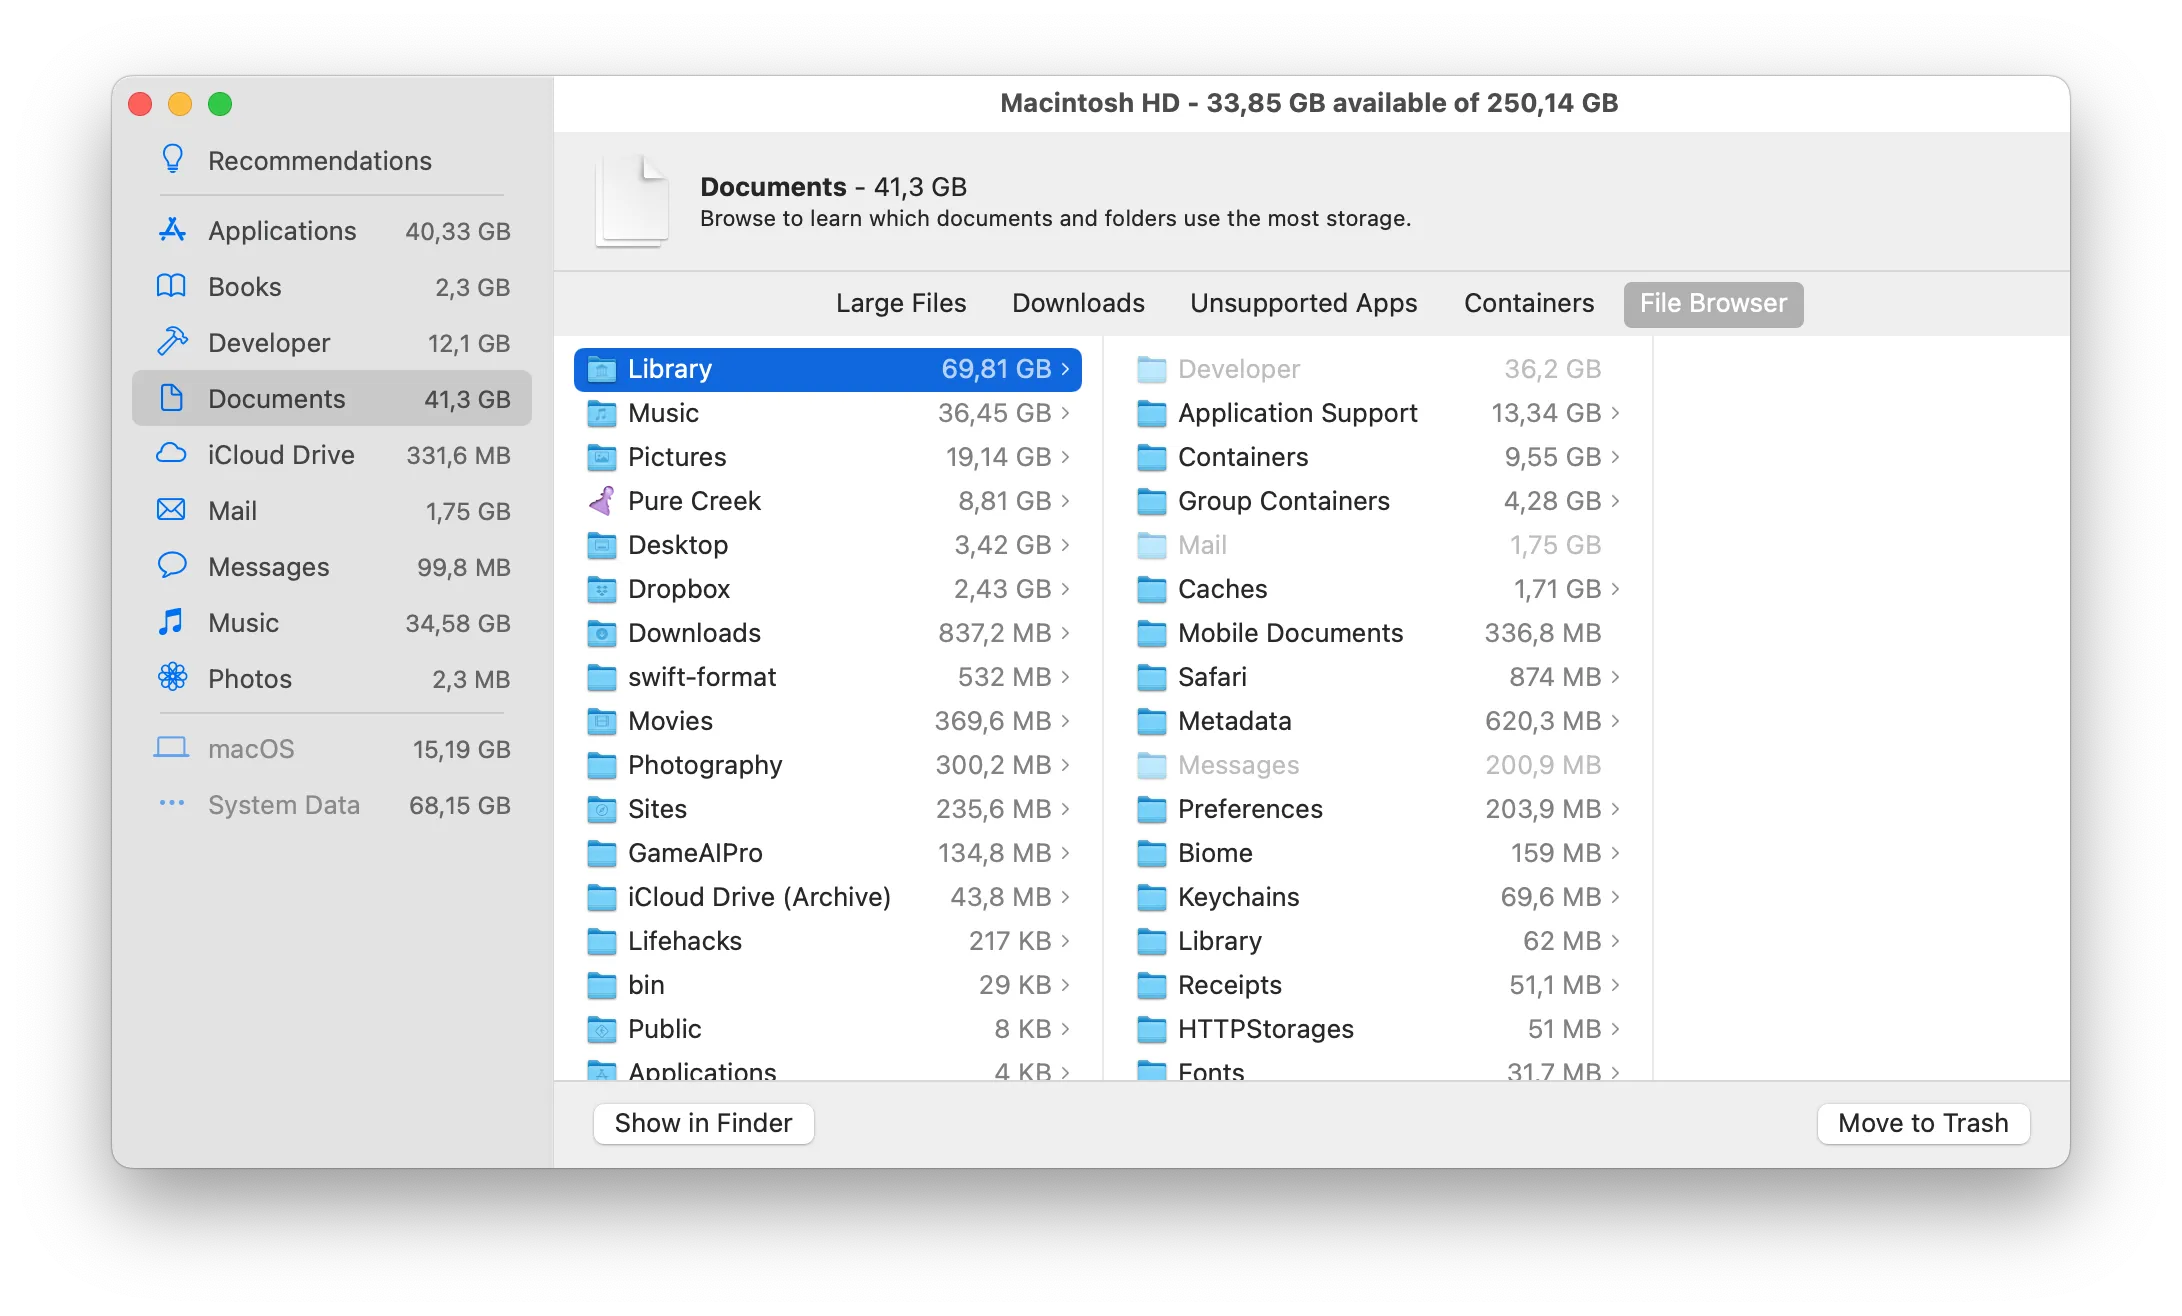
You can locate large files and folders using the System Information app. From the macOS menu, select About This Mac and go to the Storage tab. There, click on the Manage… button to open the app.

In the app’s sidebar, you will find various sections that suggest what data you can remove.
The Documents section is probably where you can make the most gains. It has Large Files and File Browser sections showing files and folders ordered by size.
Wipe out caches and other data that can be downloaded or generated again
The Applications section is an option that you should check. You can delete large apps and then download them again later from the App Store or the developer’s website. For example, Apple’s iMovie app takes up more than 2GB.
Apps on macOS save data outside their bundle, so you can delete any app safely without losing data.
The Library folder should also be a place that you consider. You can see its size using the Large Files tab in the Documents section of the System Information app.
One of the folders you can safely empty is Library/Caches. On my computer, that gave me back around 2GB.
However, the Library/Application Support folder is not a safe folder to delete because it contains the data of all your apps.
But, if it takes up a lot of space, it’s worth looking into it to see if any apps have saved too much data.
How you free up that space depends on the app. Google is your friend here.
One easy example is Safari, which has a Cache directory in the Containers folder. On my computer, this was taking up more than 2GB. I got this space back by clearing Safari’s cache (method #2).
Freeing space when you have Xcode already installed
If you already have Xcode installed and you need space to update it, you have more options.
First of all, delete the Xcode app. That alone might give you all the space you need.
You don’t have to worry about losing data. Like any other macOS app, Xcode saves data in different locations on your disk, so deleting the app is safe.
But you don’t have to stop there.
As you develop apps, Xcode also generates several artifacts that you can safely delete, like build data, indexes, caches, archives, and previews. All of these will stay on your disk even after you delete Xcode.
The easiest way to locate these artifacts is using the System Information app I discussed in the previous section. In the sidebar of the app, you will find a Developer section. How much space is taken up will depend on your individual case.
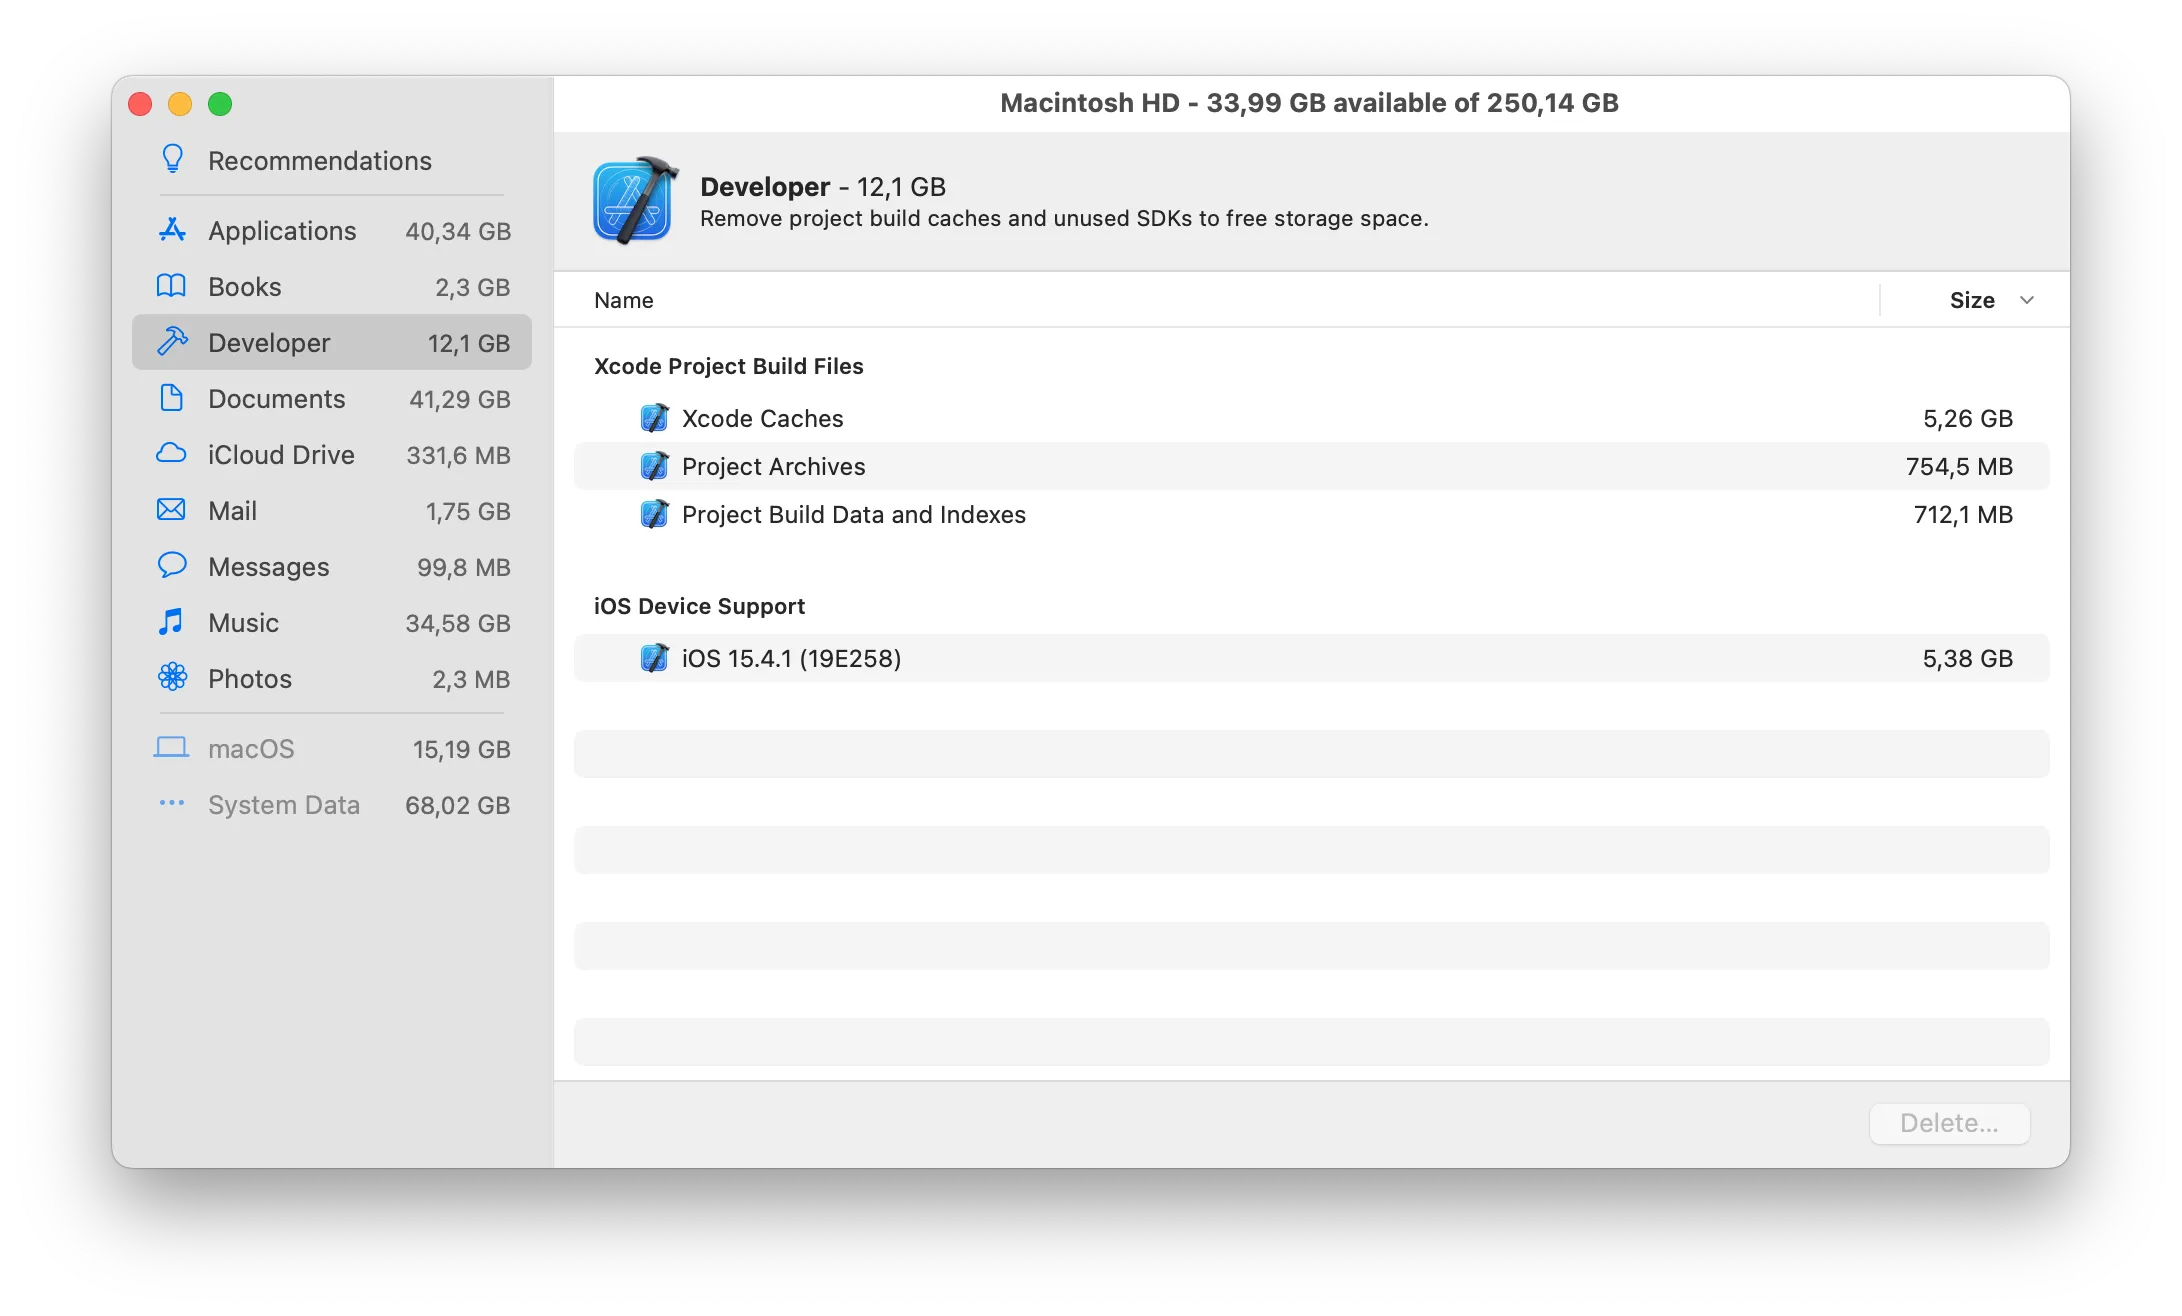
As you can see, I can reclaim more than 11GB from caches, build data, indexes, and iOS device support (I like to keep my Project Archives). That’s all data that Xcode can download or generate again.
What to do when you have enough free space, but you still get errors
Using all the methods listed above, I freed a whopping 55GB of space, which is enough to cover the 46GB I need to install Xcode.
In fact, the Storage tab of my About This Mac window shows that I have 73GB of free space.
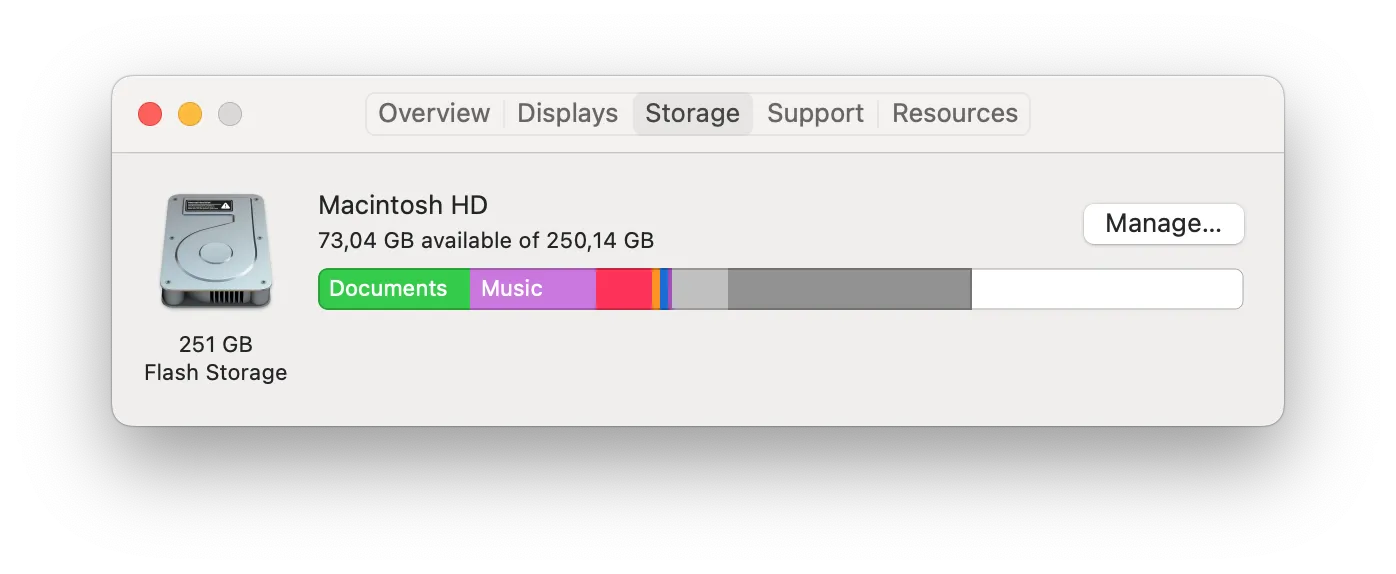 However, you might still get errors even though it looks like you have more than enough space. You can check whether this is likely with the Disk Utility app, which says I only have 19.6GB free.
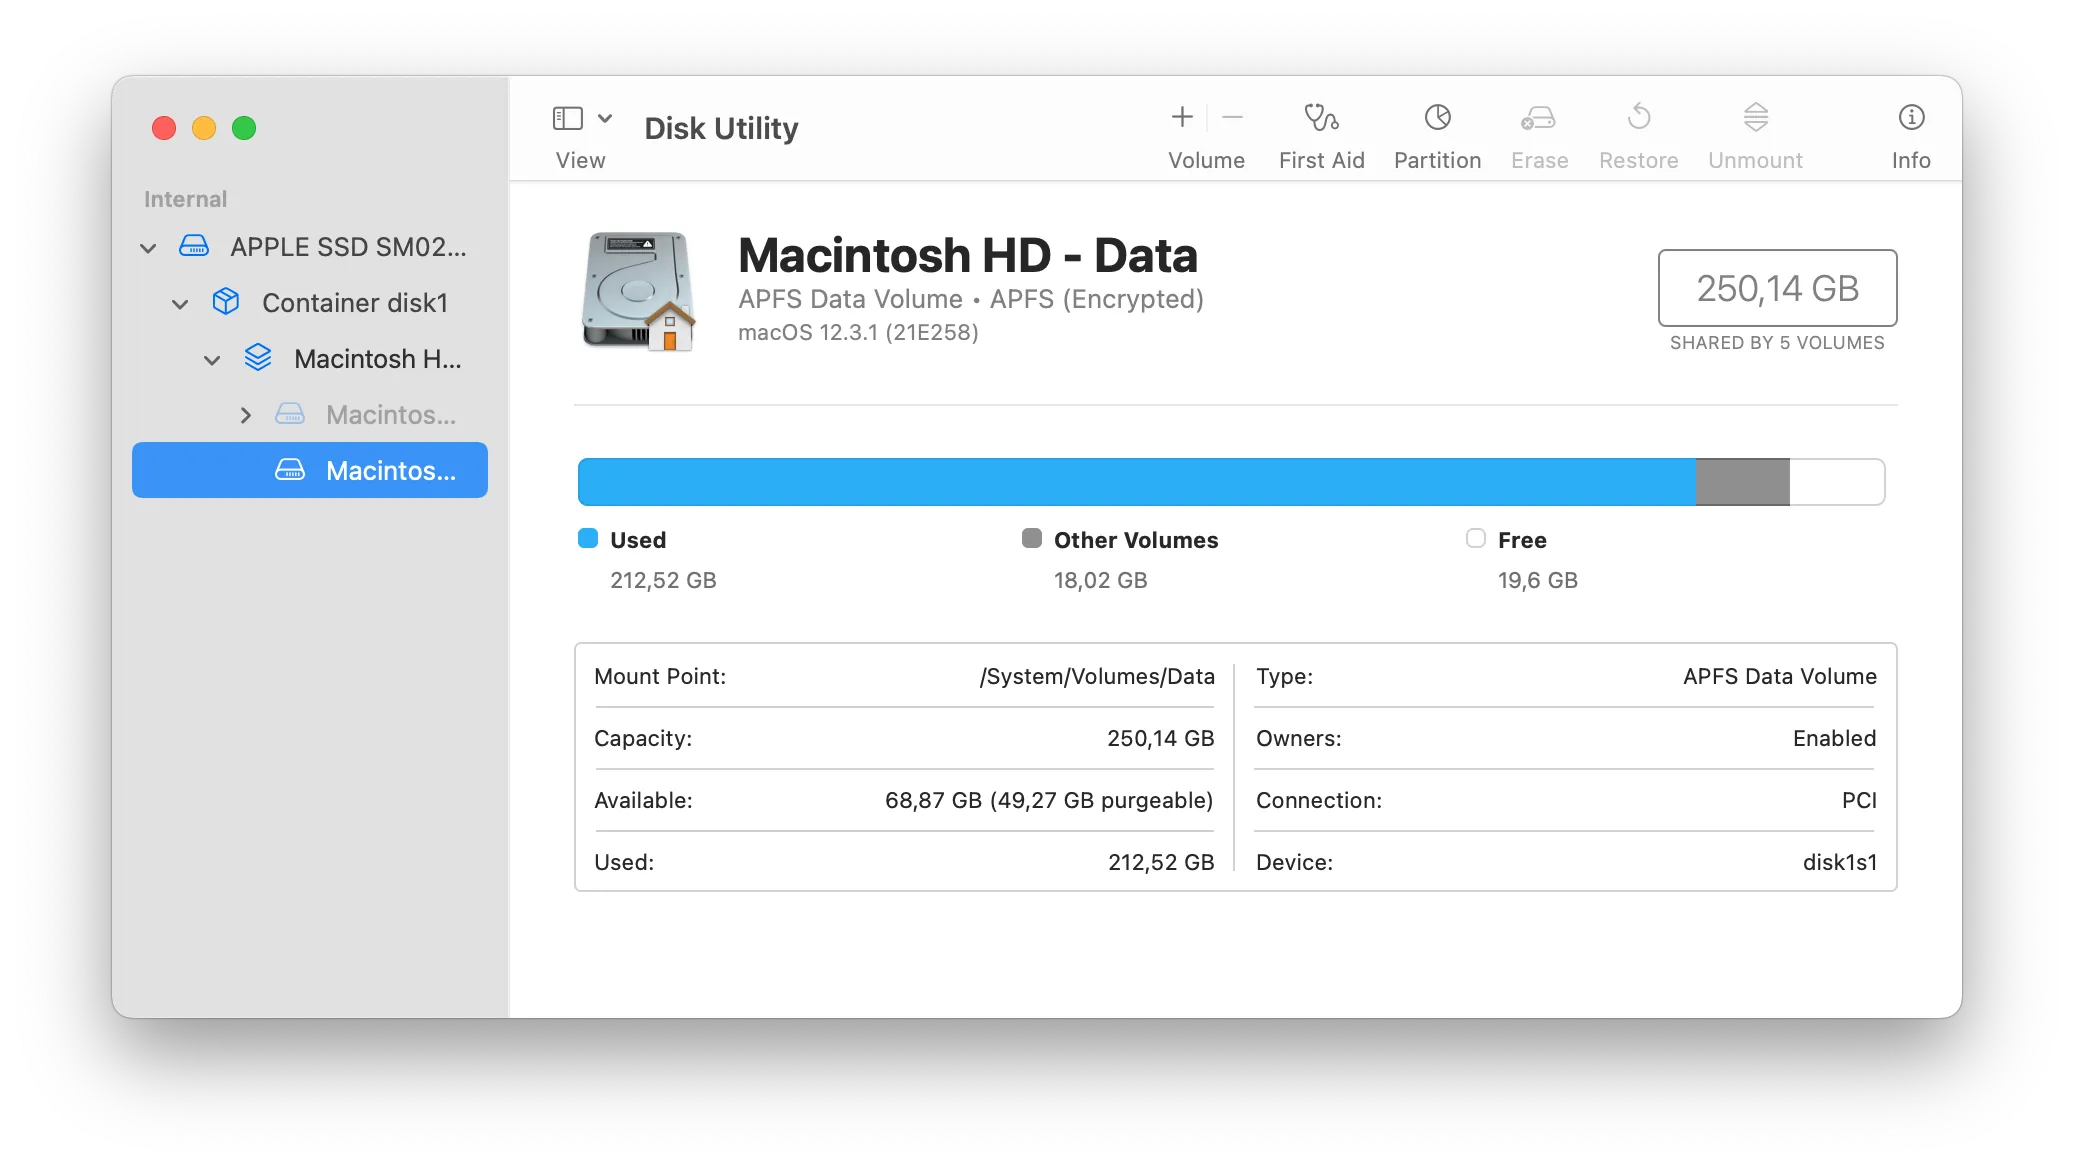 The reason for this is related to APFS containers. The solution is to create a large file and then delete it. You can find a lengthy explanation about this here.
Installing Xcode’s command line tools
After installing Xcode, you might also want to install Xcode’s command line tools.
This package enables UNIX-style development via Terminal by installing command line developer tools and macOS SDK frameworks and headers.
These tools are all already embedded in Xcode, so you might wonder why you need them.
There are two reasons:
- You get Git, a version control system indispensable for any serious development. And while Xcode has a pretty good Git integration, some commands and workflows are only available from the command line.
- If you need to set up a continuous integration server, you need these tools to maintain a central repository, automate build and deployment, and run tests.
You can get a .dmg package with Xcode’s command line tools in the same place where you can download Xcode.
If, instead, you want to install them from the command line, run this command:
xcode-select --install
You don’t need to install Xcode first for this command to work. It is available even on a fresh install of macOS.
Running your Swift programs in Visual Studio Code on Windows or Linux
Xcode and all the SDKs you need to develop apps for all Apple’s systems are available only on macOS. There is no Windows or Linux version.
That said, if you are just starting to learn Swift, you don’t need to delve into iOS development just yet. Instead, you can run Swift programs in Visual Studio Code, which you can download here.
Visual Studio Code is an IDE like Xcode. It’s open source and runs on Windows, Linux, macOS, and even on the web.
To add Swift support to Visual Studio code, you need this extension, which, in turn, requires you to first install Swift on your Windows machine.
It’s not the most straightforward of processes, but it’s the only one I could find. That said, I’m not a Windows or Linux expert, so let me know if there is a better way.
Conclusions
There are several ways to install Xcode, but they are not the same.
My recommendation for the best mix of performance and ease of use is to download the XIP archive from Apple’s website and decompress it using the command line.
You can wait to install Xcode’s command line tools until you need them. However, I recommend learning to use Git as soon as possible. It will make your developer life much easier, even if you work alone on personal projects.
SwiftUI App Architecture: Design Patterns and Best Practices
It's easy to make an app by throwing some code together. But without best practices and robust architecture, you soon end up with unmanageable spaghetti code. In this guide I'll show you how to properly structure SwiftUI apps.
Matteo has been developing apps for iOS since 2008. He has been teaching iOS development best practices to hundreds of students since 2015 and he is the developer of Vulcan, a macOS app to generate SwiftUI code. Before that he was a freelance iOS developer for small and big clients, including TomTom, Squla, Siilo, and Layar. Matteo got a master’s degree in computer science and computational logic at the University of Turin. In his spare time he dances and teaches tango.


You might also want to take a look at: https://github.com/RobotsAndPencils/XcodesApp
Thanks, I added a section to the article.
I wrote a command line tool to install Xcode from an SSH session, with no GUI and no web interface. This is specifically useful for CI/CD scenario
xcodeinstall
This command line tool allows to list, download, and install Xcode and its Command Line Tools from a SSH session. No GUI required. No web-based download from Apple Developer Portal.
It is integrated with AWS Secrets Manager to store the apple session cookies, only the initial authentication requires a human interaction. It supports MFA and may store your apple developer portal credentials in AWS Secrets Manager. The README has the details of the minimum IAM permissions required to do so.
Source code and doc :
https://github.com/sebsto/xcodeinstall
Installation :
brew tap sebsto/macos
brew install xcodeinstall
Installation compiles from the sources, it might take 2-3 minutes to complete.
At this stage, I am interested by your feedback. I know it works on my machine and on EC2 Mac instances,I am curious about other configuration / environment.
Please file issues on GitHub.
There seems to be something missing. I have put XCode_14.2.xip on an external drive. I extracted it there, to see what’s in it: it’s the XCode.app folder containing > 118,000 items, scattered across many subdirectories. It looks like it’s meant to be merged into the system.
What I can’t find is your explanation of how to install it properly, instead of simply extracting it outside of the system. The system volume is sealed, and I guess only installers can write to it … ?
Or can it actually run from anywhere? My external drive wasn’t quite big enough, so the extraction wasn’t complete, and I couldn’t test that.
My main disk has 300 GB free, so no problem with space there.
“XCode.app folder containing > 118,000 items”
More like half a million.
I was watching the counter as it was being deleted, the VM screen froze when it got to 118,000 and I thought it had finished.
The external disk is exFAT with big sectors, so it was swamped so many small files — 77.8 GB free was not enough.
I’m installing full XCode only because brew needs it to install a small package (mpv) !!!
I know very little about macOS. I’m building a Qt-Python app on Linux, and will need to test it, and make a simple installer, on macOS.
Apps on macOS are just folders containing a plethora of files and subdirectories. Xcode is definitely a large one at that, but what you are seeing is not atypical.
You can “install” apps in any location, the Applications folder is just the recommended one. You can put the app also on an external drive, but I would not recommend it.
There is usually a significant lag due to slow data transfer rates, so Xcode is going to load much slower if you launch it from an external drive.
Thank you for this very insightful article!
What’s on the update side?
While using Mac Apple Store might not be the fastest way, it handles updating your Xcode app when a new version is out.
What about the other ways? How do you update when using your favorite approach? (download from web on ADP + Terminal xip)
The process is the same. Just download the new version, decompress the archive and replace the old copy. Optionally, you can safely delete the old copy before you start if you need more disk space.
That’s what the Mac App Store does anyway. Unfortunately, it does not handle incremental updates. It simply downloads the new version and overwrites the old one. And it will refuse to do so if you don’t have enough disk space, so you will have to delete the old version manually anyway.
Hi and thank you for your tips.
I just tried downloading the latest version of Xcode from Apple’s developer site, but all the Download options now just redirect me to the App Store website with the message “Open the Mac App Store to buy and download apps.” (The browser also attempts to open the App Store app directly.)
Is this happening to you too? Did Apple just remove the ability to download Xcode directly?
Yes, they seem to have changed the link on the Xcode page to send you straight to the App Store instead of the downloads page.
You can still download Xcode from Apple’s website, but you need to reach it from another route. Go to https://developer.apple.com and scroll to the bottom. There, you will find a Downloads link that will bring you to the page where you can get the Xcode .xip file.